
Prince Edward & Kwun Tong clinics · Home-visit enquiries elsewhere

TCM Lab

TCM Lab · Beauty & lifestyle / Highlight design

Small highlights on short hair: placement matters

Content updated

A tiny lightened section can become a defining feature of a crop or bob. TCM Lab looks at where that colour appears, what ordinary styling hides, and which parts disappear with the scissors.

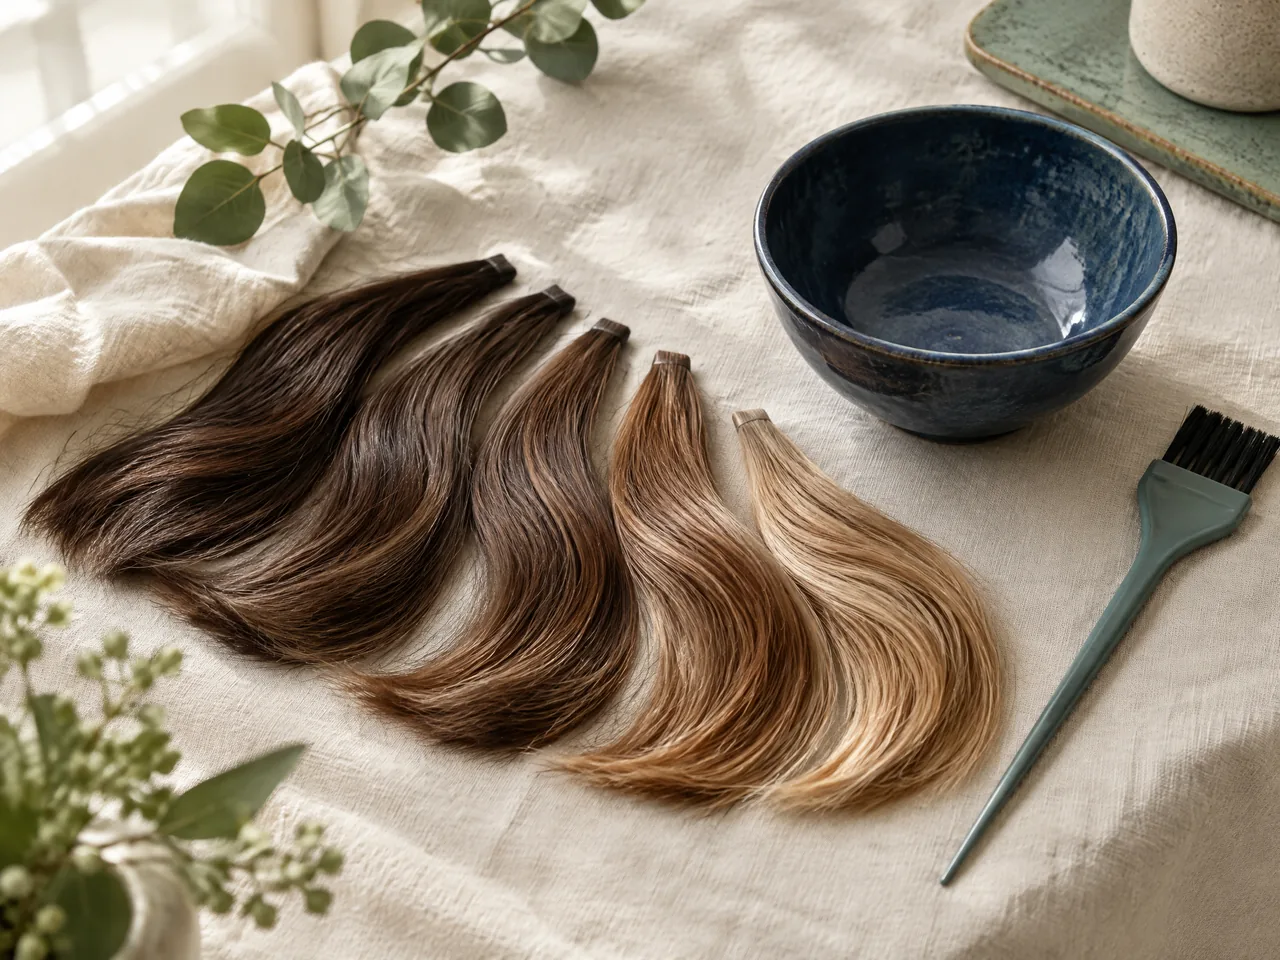
Illustrative colour swatches and tonal planning
Illustrative hair-lifestyle concept; not a client record or a Vit So portfolio photograph.

The short answer

Judge short hair highlight placement against the dry haircut, not just a colour swatch. Check the fringe, crown and ear areas in their normal positions, then move them as you do each day. Fine pieces are not automatically discreet: neighbouring strands can collect into a bright patch. Plan against the length you will keep after the next cut.

Vit So is an external hair and beauty website under the same ownership as TCM Lab. Its beauty services are separate from Chinese medicine care. This section is for beauty and lifestyle education, not diagnosis or treatment.

Read the silhouette before marking lighter pieces

Start with the haircut viewed from a few steps away. Notice its main continuous edge: a straight fringe, a rounded crop or a bob sitting below the jaw. Then look closer at where that edge breaks into separate tips. Colour along a continuous edge may draw a line; colour on separated tips may appear as scattered marks. Neither effect is inherently softer or better.

On a front and profile photograph, trace the outline with your finger. Choose one feature to emphasise and one to leave quiet. For example, you might want the upper curve of a crop to catch attention while keeping the short sideburn dark. This gives placement a purpose beyond making every visible area lighter, and makes an unwanted bright patch easier to identify.

The external Vit So resource on hair highlights covers the related service vocabulary [3]. Use it after identifying your preferred outline, rather than treating a service name as a complete design. A colour reference is more useful when you can say which part of its shape you want to borrow and which part of your own cut should remain unchanged.

Compare a fine pattern with one larger accent

Imagine two versions of the same fringe: several fine light lines distributed through it, or one wider accent near the side. The first may blend when the hair lies together; the second gives the eye a specific place to land. To compare them fairly, keep the imagined shade the same. Otherwise a preference for colour can be mistaken for a preference for section size.

BCcampus's open hairdressing textbook describes fine weaves as producing dispersed, blended colour, while heavier weaves and slices produce stronger definition. It also explains that the visible result changes with strand thickness and the amount of hair present [1]. This is why a small section copied from another person's crop may not read the same way on yours. Section width alone cannot predict the finished appearance.

When considering babylights, look at the pattern from conversational distance as well as close up. Several delicate lines can appear to merge into one bright area when the fringe rests together. Decide whether you want that collective brightness or want individual marks to remain distinguishable. Fine colour sections describe the placement approach; they do not mean the wearer must have fine hair.

Give the fringe and crown separate visibility tests

Comb the fringe into its usual dry position and notice where its tips land. A light tip above an eyebrow becomes a small front-facing accent; the same section swept across the forehead may look like a longer diagonal. If you push the fringe sideways throughout the day, test that movement too. Avoid judging its effect only when each highlighted strand has been carefully separated for a photograph.

At the crown, follow the direction in which the hair naturally opens. Hair around a whorl can spread in several directions, so a light piece may point towards the front in one view and disappear beneath another section in profile. Take a slightly elevated back photograph without lifting the hair. Then lift the top once and compare. The difference shows whether you enjoy colour on the resting surface or a reveal created by movement.

Choose priorities separately for these two areas. A clearly marked fringe with a quieter crown can keep attention at the front; a lighter crown with a dark fringe can emphasise the upper shape instead. These are visual choices, not rules about which face shape deserves which colour. Examine each area before deciding whether both need equal prominence.

Check the ear area with glasses and everyday movements

Around the ear, identify the front strand, the hair resting over the ear and anything visible behind it. They are not one interchangeable placement zone. In an ear-length cut, a small light tip directly beside the ear may be exposed all day. In a longer bob, a similarly placed tip can remain hidden until the side is moved backwards.

Put on your usual glasses and tuck the hair exactly as you normally would. Observe where the frame arm divides or presses the strands. A highlight that seemed narrow with loose hair may sit beside another lighter section after the tuck, forming a larger visible patch. Alternatively, the frame can hide the accent you wanted to show. Test both sides rather than assuming the same movement has the same effect.

If you want a changing reveal, decide which position should be quieter. You might prefer a dark profile with loose hair and a flash of brightness when tucked. If you want a constant accent instead, its resting position matters more than a tucked photograph. Describing this difference is more precise than asking for colour somewhere near the ears.

Use a flat finish as the baseline, then add texture

Let the cut settle into its ordinary shape before evaluating the colour. Here, flat means resting together without deliberate separation, not pressing naturally curly hair straight. Look for whether the light pieces form dots, short lines or one continuous bright area. Then use your fingers to arrange the texture you actually wear. Colour remains on the same hair, but different surfaces become visible.

Compare photographs from the same angle in similar diffuse daylight. Keep filters off. Strong shine on a smooth surface can resemble a light streak, while deep shadows between textured sections can exaggerate separation. If one picture has a glossy finish and the other is matte, do not attribute the entire difference to placement. You need not reproduce a polished editorial finish to assess an everyday pattern.

Avoid repeated hot-tool passes simply to make the highlights show. The American Academy of Dermatology recommends air-drying when possible, using the lowest heat setting when heat tools are used, and gentle combing without tugging [2]. Those handling recommendations help keep the comparison practical; they do not guarantee colour durability or reverse lightening. A design worth keeping should work with a routine you can comfortably repeat.

Draw the next cut line through the colour pattern

On a current photograph, mark a dotted line where the next haircut will end. Look at the light sections on either side of that line. If an accent exists only at the tips below it, that accent will be cut away. If the lightness extends further up the retained hair, a shorter version remains. Shortening one strand can change a visible line into a small dot without removing all its colour.

For highlights for short hair, the useful question is what pattern remains after reshaping, not simply whether short hair can be highlighted [4]. A change to layers also alters what covers what: removing a dark outer section can reveal lighter hair underneath. Agree on the intended finished haircut before committing to placement; the actual cutting and colouring sequence depends on the work.

Keep three observations separate between visits: a darker area appearing at the roots, a change in the shade of retained light pieces, and a highlight disappearing after a trim. They describe different changes, so none automatically calls for more lightening. Vit So is an external hair-beauty website under the same ownership as TCM Lab; its salon services are not Chinese medicine or medical treatment.

Take it into everyday life

A practical checklist

  • Photograph the resting cut from the front, profile and back before selecting a reference.
  • Mark one outline feature to emphasise and one area to keep visually quiet.
  • Compare fine pieces and a broader accent using the same intended shade.
  • Test the fringe sweep, crown lift and ear tuck separately, wearing your usual glasses.
  • Check the pattern both at conversational distance and close up, without colour filters.
  • Mark the next cut line and identify which light sections would remain above it.

Questions & answers

Will tiny highlights always look subtle on a crop?

No. Tiny pale sections can be conspicuous against a dark fringe, and several can gather into one bright area when the hair rests together. Compare the overall patch of lightness, not just the width of a separated strand.

Should the colour on each side of a side fringe match exactly?

Not necessarily. A side-swept fringe exposes different amounts of hair on each side. If your goal is visual balance, check it with the fringe in its normal position rather than assuming identical colour sections will look identical.

Why do my crown highlights show only when I lift my hair?

They may sit beneath darker covering strands or face a different direction when the hair rests. Compare a resting back view with a gently lifted view. Decide whether you like that reveal before requesting additional brightness.

Can an ear-side accent be hidden when I wear glasses?

Yes. The frame arm and your habitual tuck can conceal or regroup the strands. Wear the glasses while assessing placement and check the loose position too, especially if you switch between the two throughout the day.

Does a trim mean I need fresh highlights?

No. A trim may shorten existing light pieces, remove an ends-only accent or reveal previously hidden colour. Assess the new dry shape first. Keeping the haircut tidy and adding lightness are separate decisions.

Sources & further context

Numbered references follow the order in which the sources are listed below. Service websites provide beauty-service context, not medical evidence.

  1. [1] BCcampus — Hair Colour for Hairstylists: 5.1 Weaves Versus Slices
  2. [2] American Academy of Dermatology — How to stop damaging your hair
  3. [3] Vit So — Hair Highlights and Babylights: Choose Your Line Design
  4. [4] Vit So — Highlights for Short Hair and Balayage on Short Hair: Work with the Cut

Turn a reference into a placement brief

Annotate a reference with what each light area does, rather than circling the whole hairstyle. Write whether it marks the fringe edge, follows the upper curve or appears only when the side moves. On your own photograph, mark the corresponding area and any neighbouring hair you want to keep dark. This lets the colourist discuss one feature without assuming you want the reference's entire pattern.

For the fringe, name your preferred resting position and an unacceptable alternative: for example, a narrow accent when swept sideways, but not a broad pale band when pushed forward. Ask the colourist to identify the proposed sections on your dry cut before discussing their colour.
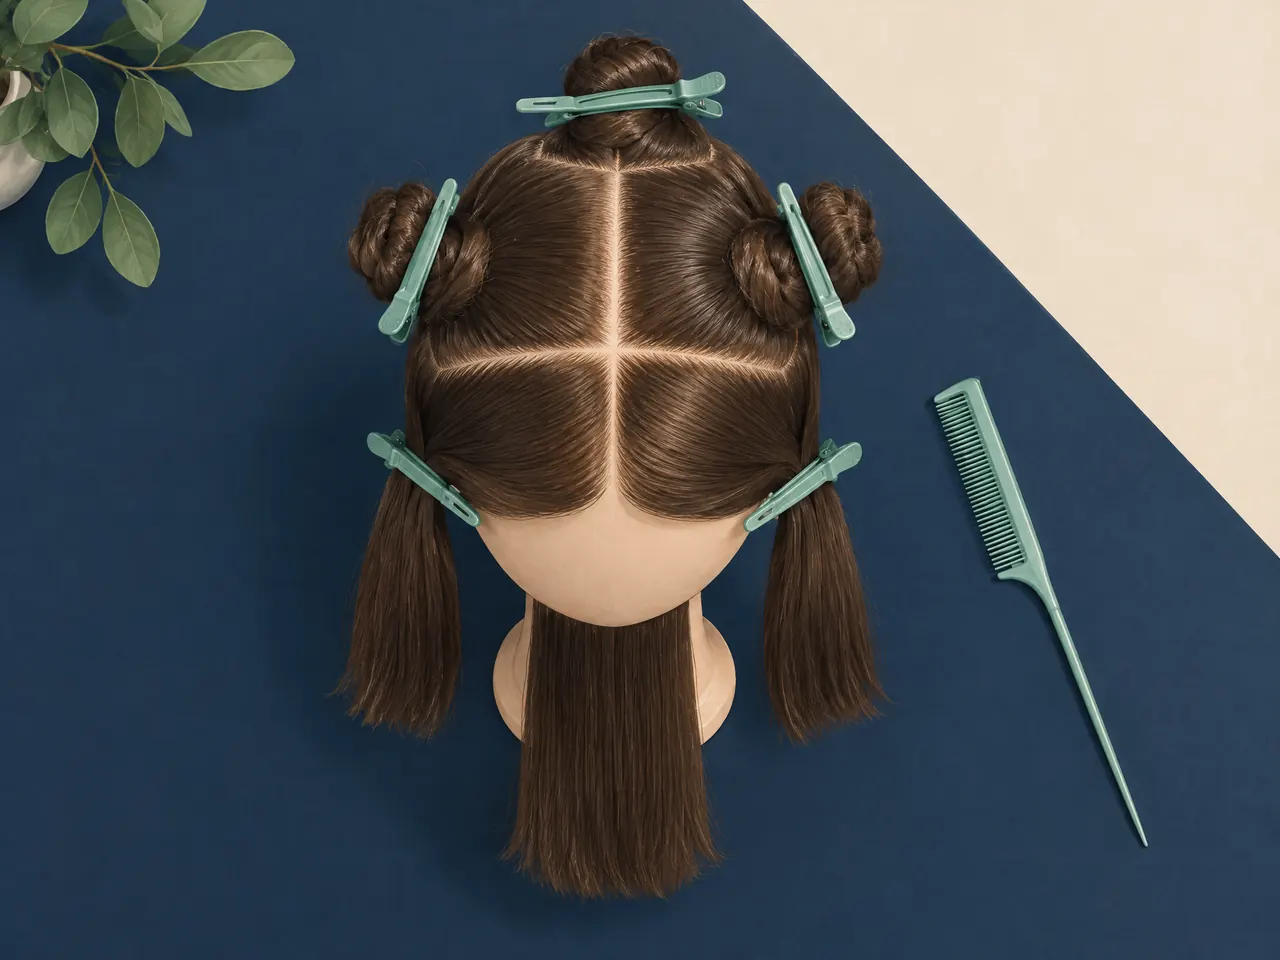
Overhead illustration of a faceless practice mannequin with hair divided into sections by jade clips, beside a tail comb.
Practice sectioning makes separate placement zones easier to discuss; it does not show a finished highlight pattern or client result.Generated illustrative image
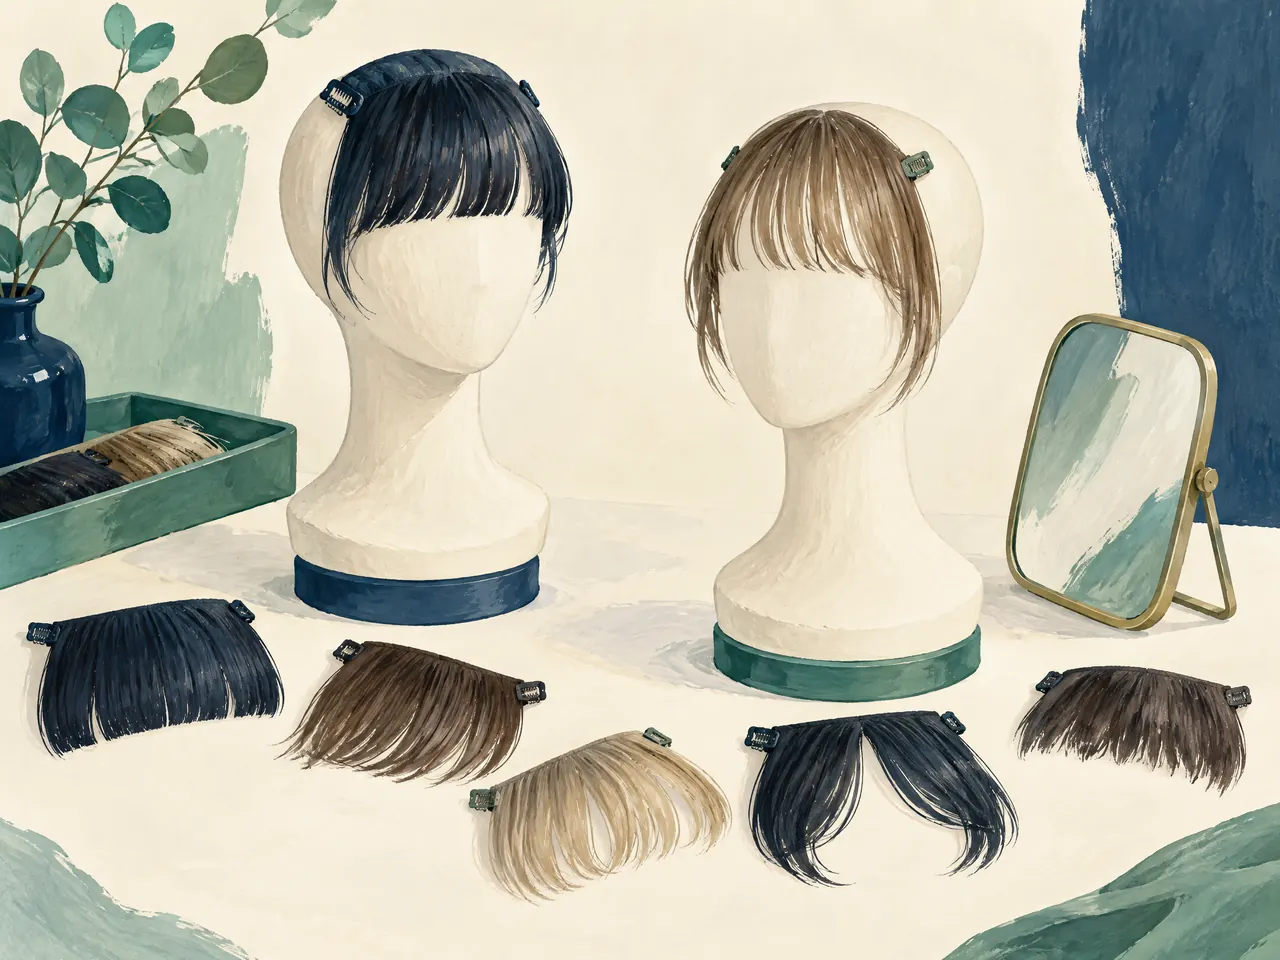
Two featureless practice mannequins with detachable fringe pieces and a small mirror arranged for a fringe design discussion.
Fringe practice pieces illustrate a design discussion, not the colour or cut a wearer will receive.Generated illustrative image

Specify the retained length, not a copied gradient

If your inspiration has longer hair, separate the shade you like from the length over which it changes. Point out where its lightness begins and where it ends, then compare that span with the hair your next cut will retain. Ask which part could be represented as a small accent and which part needs more length than you intend to keep. Practice tresses can help explain different end points, but cannot demonstrate how a proposed gradient will sit on your haircut.
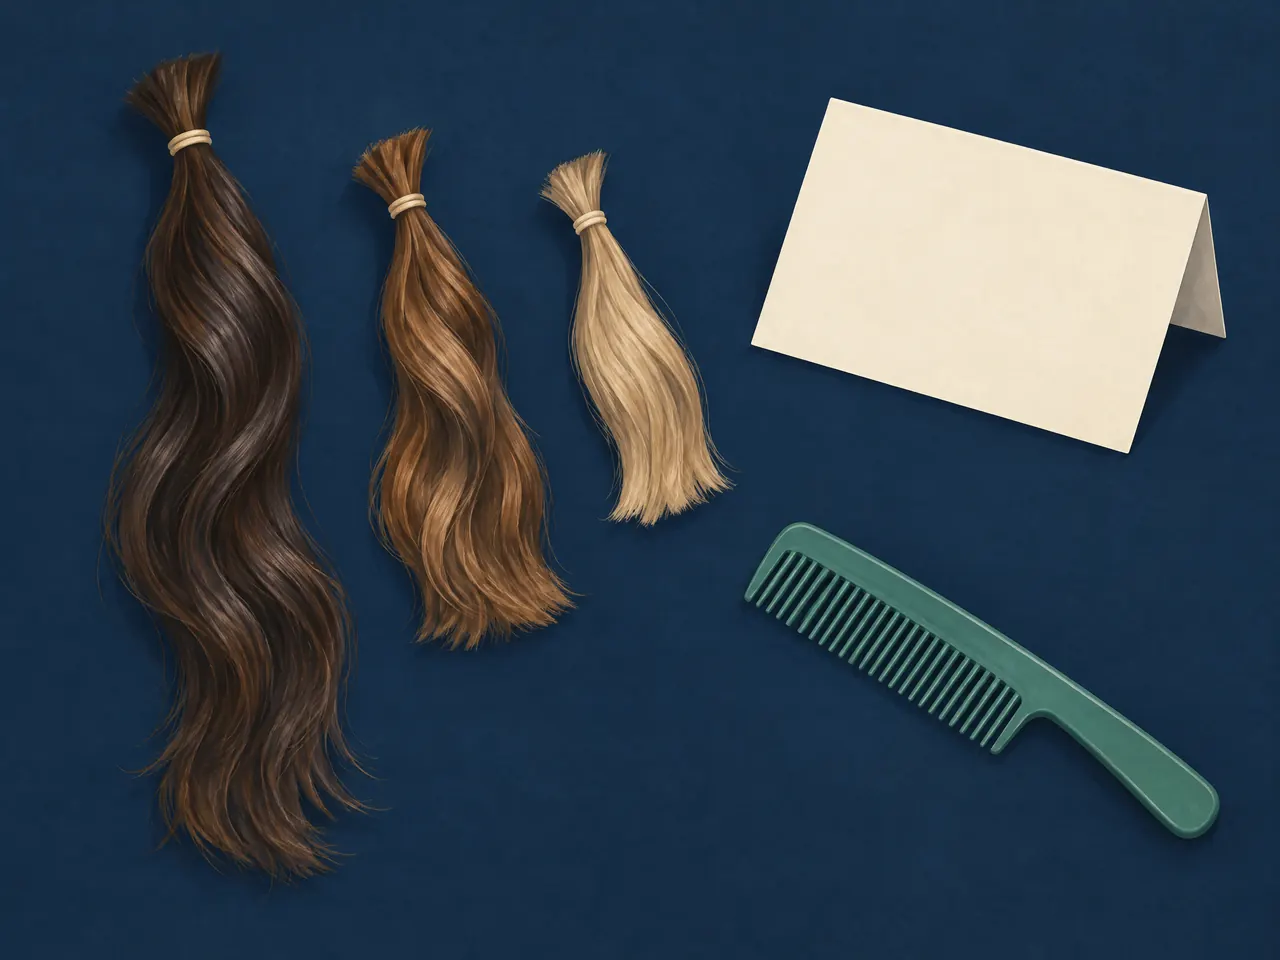
Three separate practice hair tresses ending at different lengths, beside a blank folded consultation card and a comb.
Different practice lengths help describe what will remain after cutting; they are not a preview of highlight placement.Generated illustrative image

Explain how your hair groups when dry

Describe natural bends separately from strand thickness. BCcampus distinguishes the diameter of an individual strand from density, meaning the amount of hair on the head; both affect how a weave reads. [1] Saying your hair is wavy does not answer either question. Let the colourist assess those features rather than requesting smaller sections solely because you want a quieter result.

Show a curl or wave in its normal settled group, not only pulled apart into individual hairs. Point out whether you want brightness across that visible group or a smaller reveal within it. Separate straight, wavy and curly practice tresses illustrate different shapes, not your hair's density or an achievable colour result.
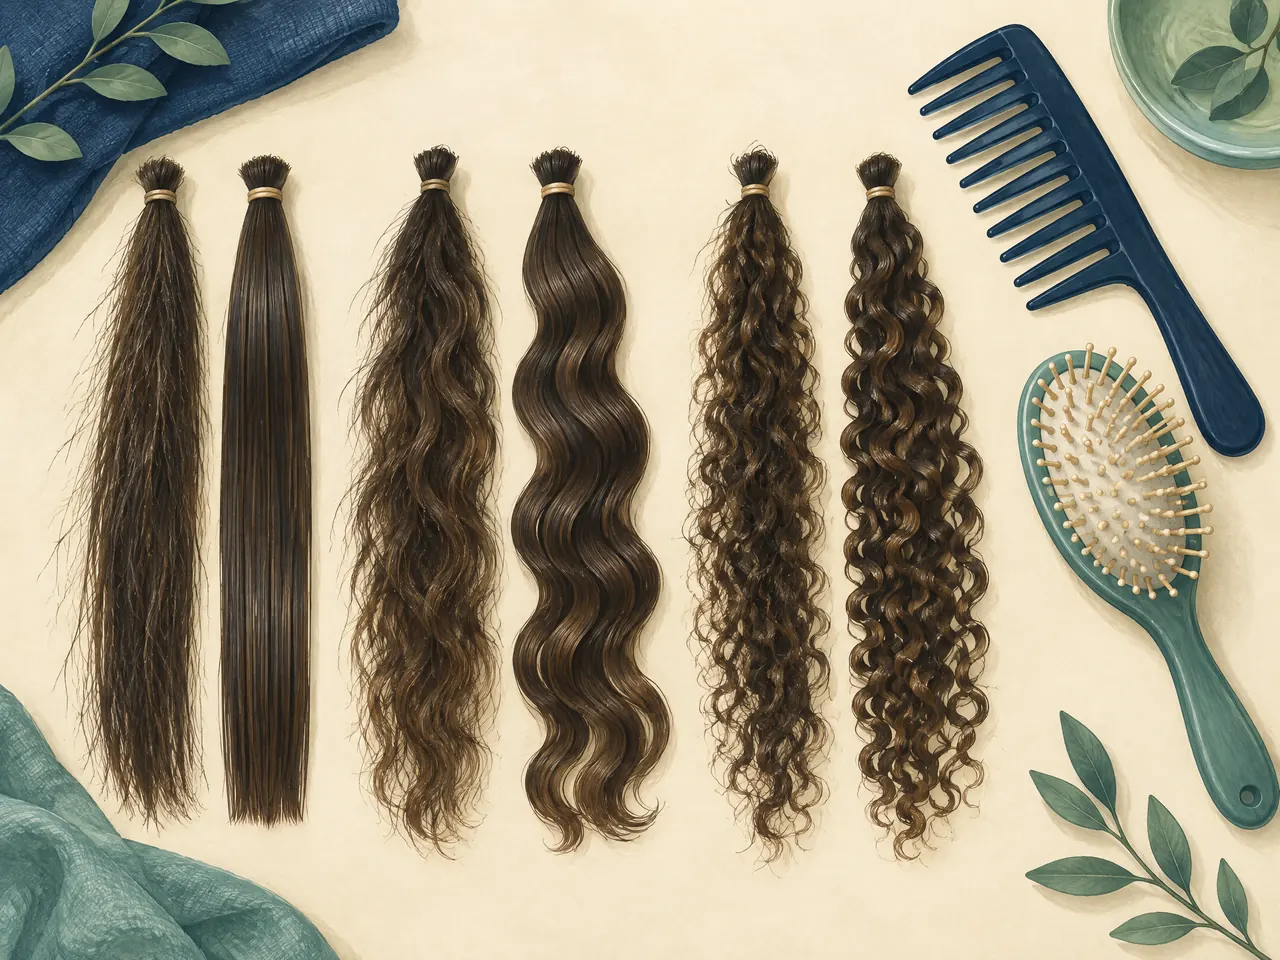
Separate straight, wavy and curly practice hair tresses beside a wide-tooth comb and a soft brush, with no person shown.
Practice tresses distinguish visible bends; they do not measure strand thickness, density or highlight suitability.Generated illustrative image

Agree on a finish you can reproduce

Tell the colourist which dryer attachment you already use, or that you normally air-dry. If the proposed finish depends on separating the fringe with a brush, ask to see the pattern before that extra shaping as well. Note the specific action you would need to repeat, rather than describing the whole look as easy. AAD advises air-drying when possible and the lowest heat setting when using heat tools. [2] Buying another attachment is not a substitute for placement you enjoy in your ordinary routine.
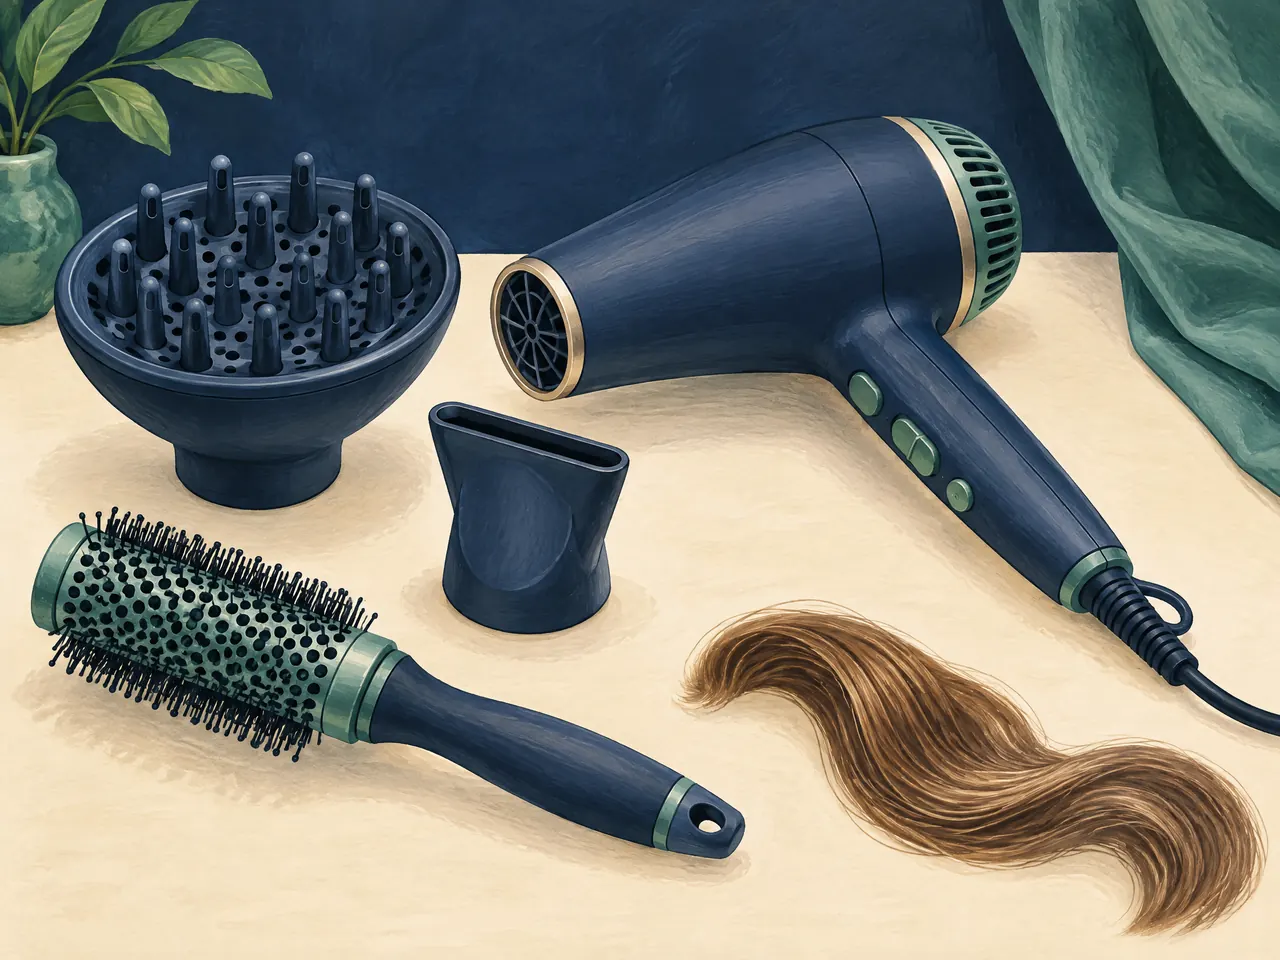
An unplugged unbranded hair dryer with separate diffuser and nozzle attachments, a round brush and a loose practice hair tress.
Separate tools help describe the finishing routine you use; no attachment guarantees a particular highlight effect.Generated illustrative image

Clinic enquiries

Contact and appointment arrangements

Clinics
Prince Edward and Kwun Tong
Opening hours
11:00–21:00
WhatsApp and telephone
+852 6940 5663

Appointments, practitioner availability and service arrangements are confirmed via WhatsApp.

Please mention any consultation language needs in your WhatsApp enquiry so that arrangements can be confirmed.

Enquire via WhatsApp
Food, gifts and floral lifeWhatsApp enquiry