
Describe the lengths and wave sections you want to keep
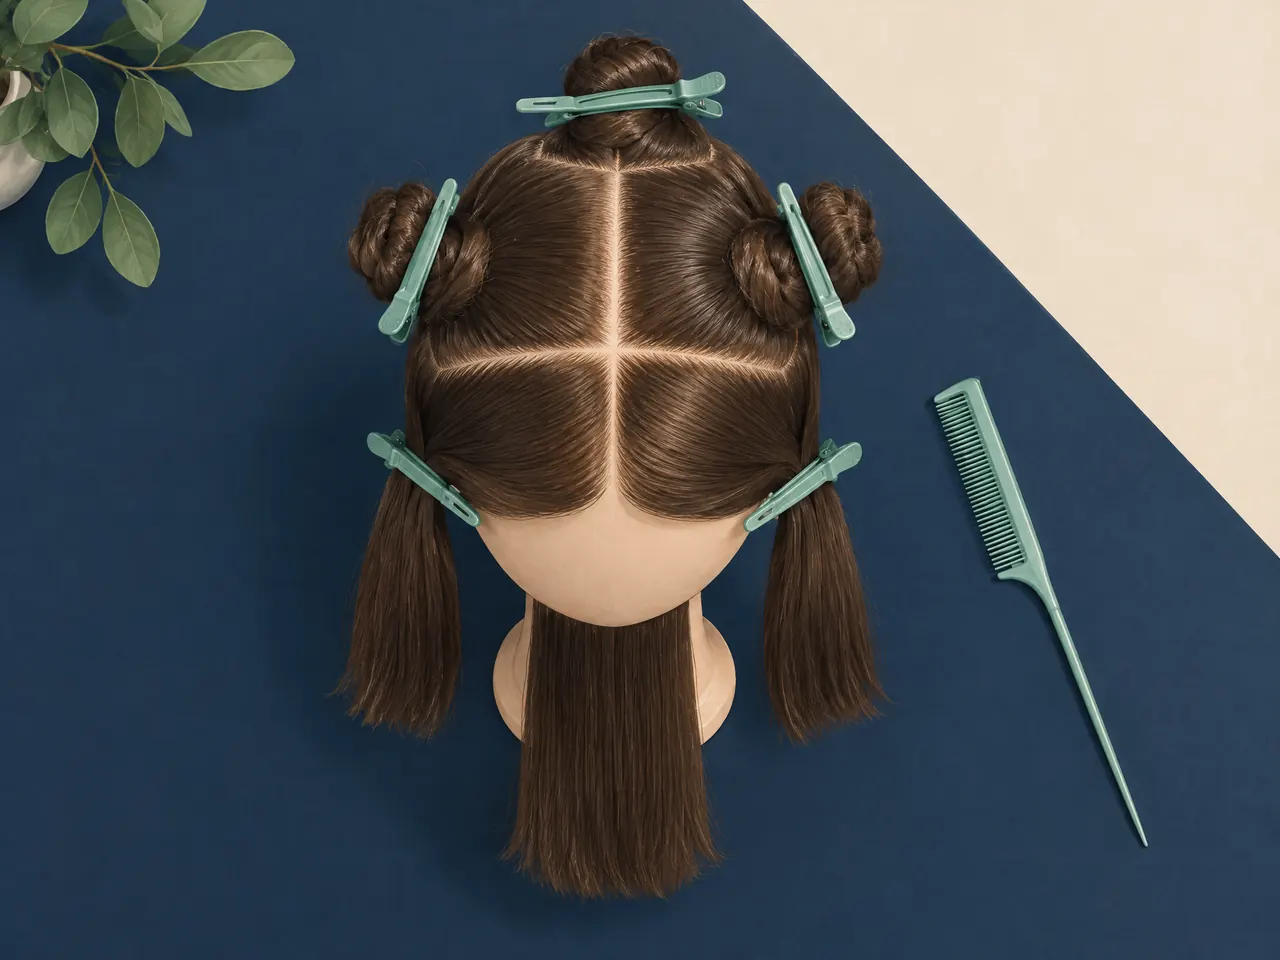
Turn your observations into a brief that a stylist can discuss one area at a time. Write down one priority, such as reducing width beside the ears, and one boundary, such as retaining a visibly full lower edge. Then identify the crown, front and back separately. A sectioned practice mannequin illustrates those distinct discussion areas; it is not a cutting diagram to copy at home. Ask which sections would be shortened to address your priority and which would continue to reach the bottom.
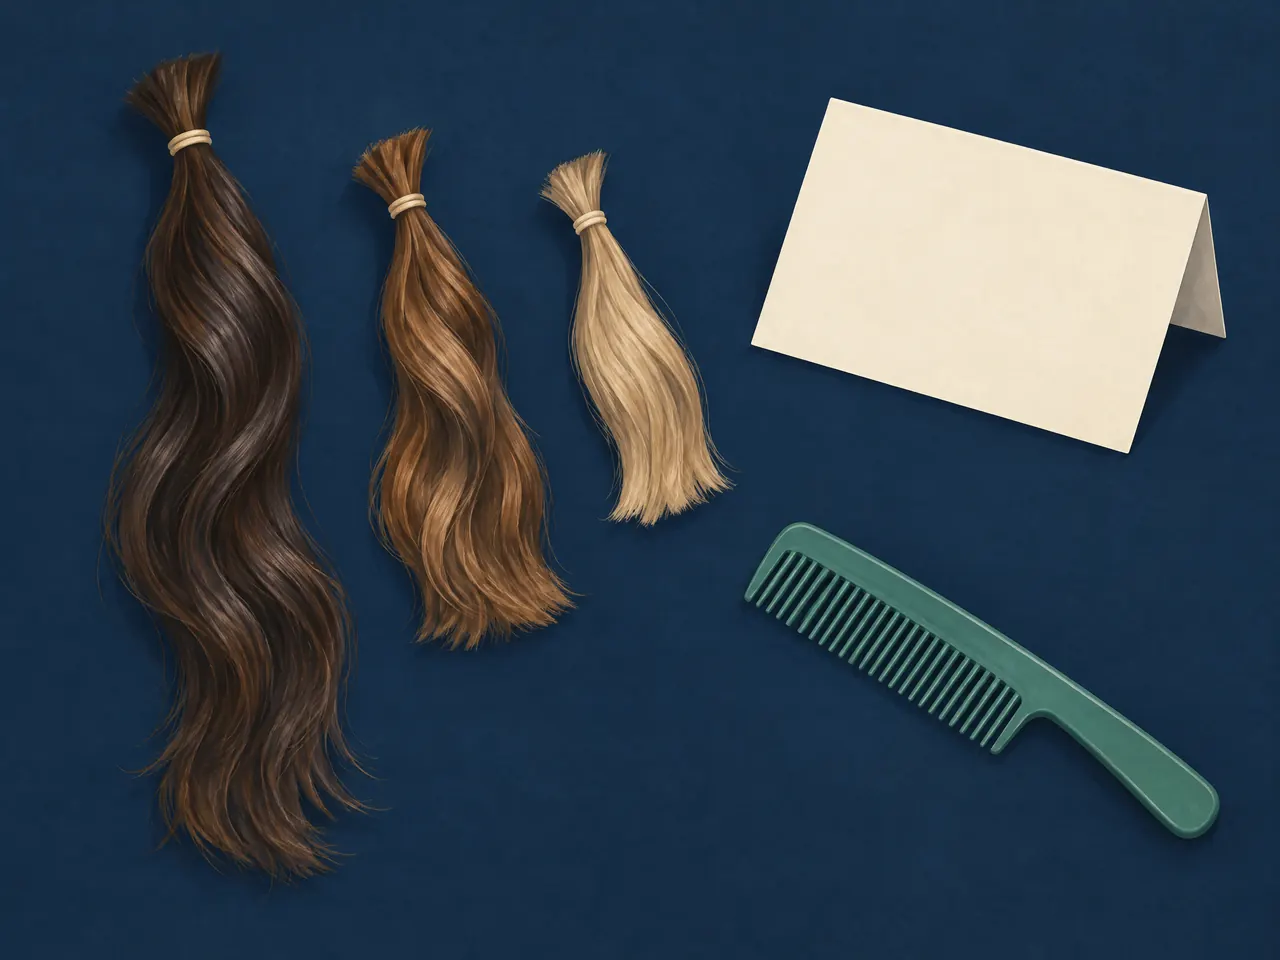
Use a length reference to describe a range, not a precise prediction. Separate practice tresses can show the difference between keeping the longest length and allowing other sections to finish higher. On your own hair, identify where the shortest acceptable pieces should rest when dry, alongside the length you need for gathering. Bring ordinary dry views of both sides if they differ. Vit So's natural-wave guide likewise recommends familiar body landmarks and separating a reference's outline from its styled finish. [5]
If a reference has an attractive crown but ends you dislike, say both things. Ask whether the proposed design needs the same short-to-long contrast or whether a quieter transition would address your local concern. Agree on the areas to preserve before choosing a trend name; a request for less side width should not silently become a request for separated ends everywhere.
Choose the front pieces and the styling effort together
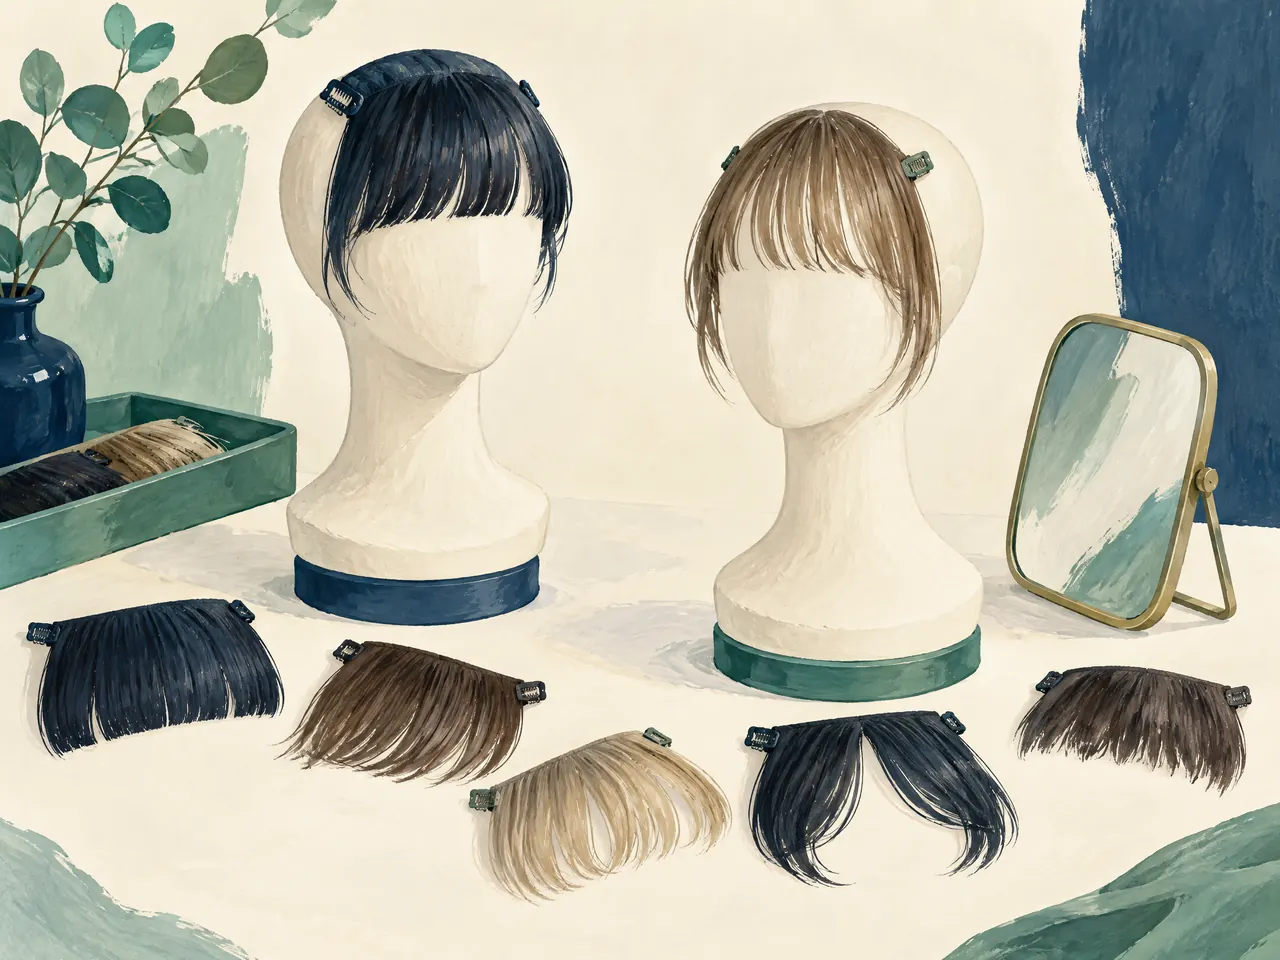
Treat the front as a separate decision even when you are not planning a fringe. You may enjoy a cheek-side bend while wanting the forehead clear, or want movement beside the face without losing the pieces that tuck behind your ears. Use the detachable fringe study to discuss those different preferences, not to assume that a mannequin's shape will match your waves. Explain which loose pieces you are happy to arrange and which must stay out of the way without attention.
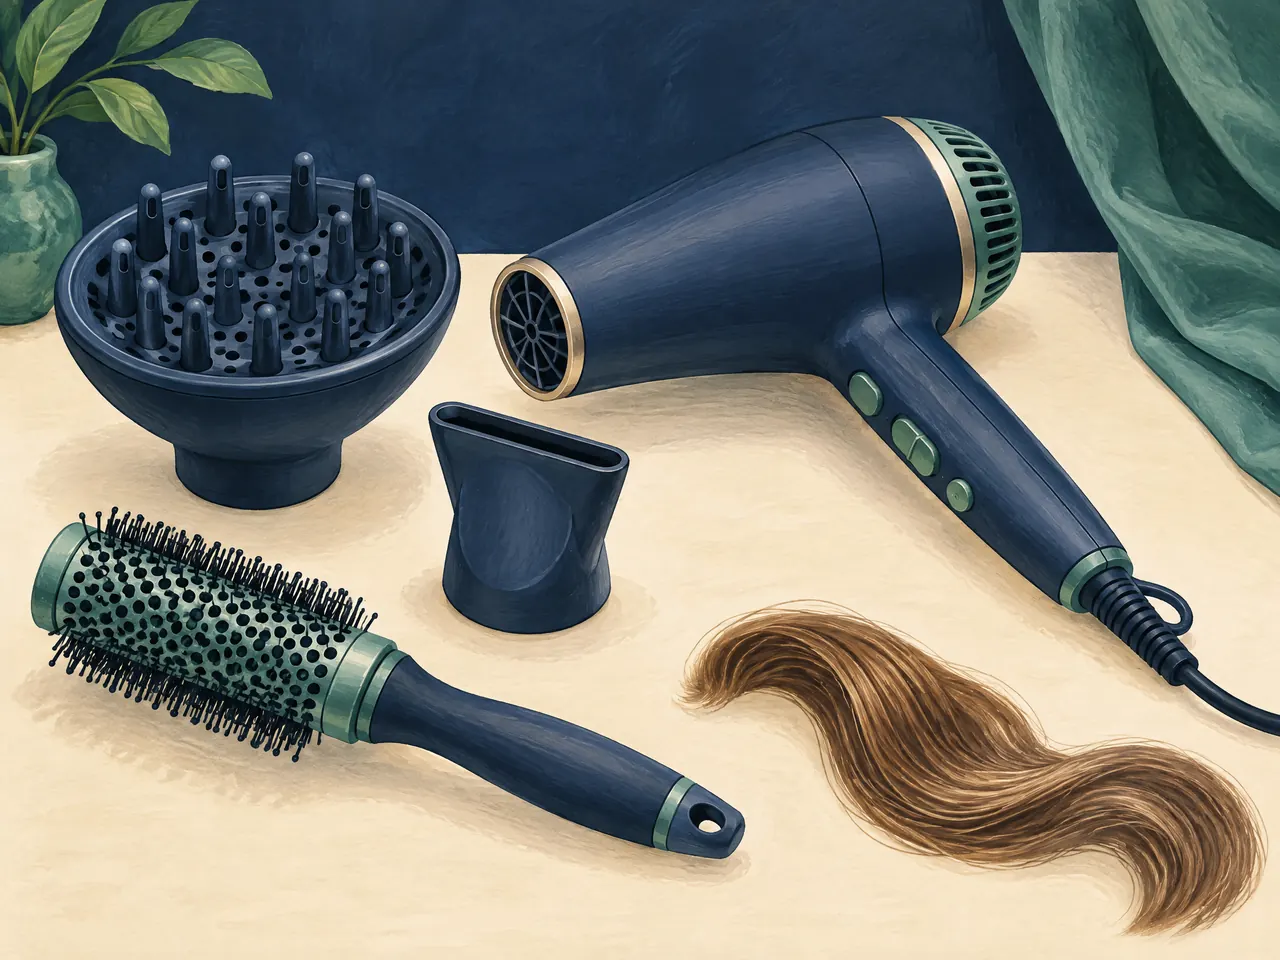
Now name the actual action you would accept on an ordinary morning. Directing one front section is different from brushing and drying the whole head into a rounded finish. If a reference depends on a dryer, ask whether its appeal comes from the layer placement or from the way those pieces were arranged. The dryer, diffuser and nozzle illustration makes the equipment question concrete; owning an attachment does not establish that the pictured routine suits you.
Ask to distinguish the shape you can wear with your familiar drying method from an optional styled finish. Do not assume that a diffuser will create the reference's pattern or that shorter front pieces remove the need to arrange them. If you use heat, keep the original gentle-care advice in view: AAD recommends limiting heat exposure and using low or medium settings. [1] Choose a level of front-piece attention you will willingly repeat.
Make the first home-wash comparison specific
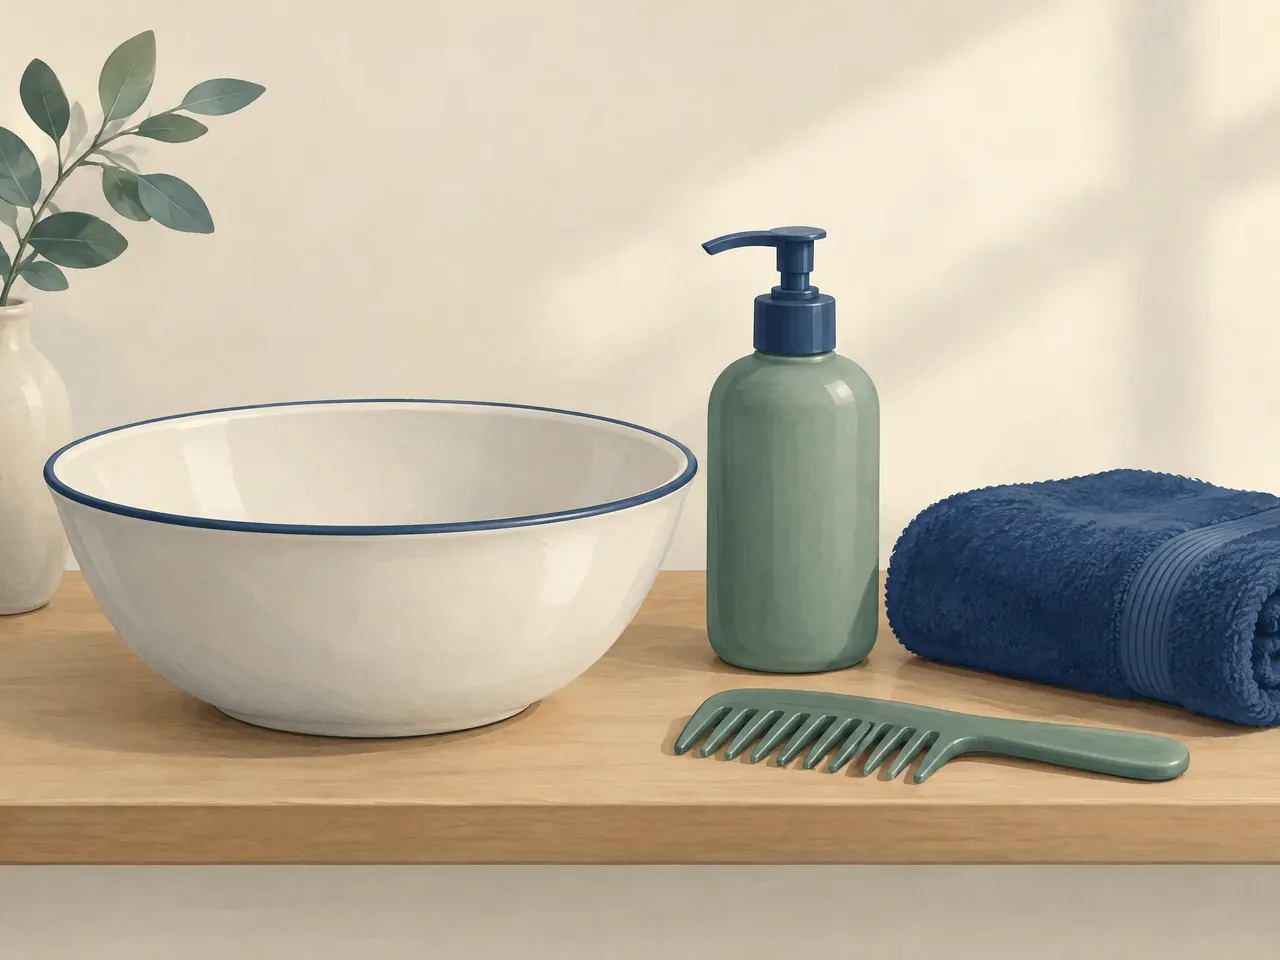
Before the cut, keep a short note of your usual cleanser, conditioner application and drying method beside one ordinary dry photograph. After the first home wash, record those same details rather than only whether the waves look better. The basin, bottle, towel and comb illustration represents the routine you are comparing; it does not endorse a product or suggest that the cut needs a new collection of products. If an unfamiliar finishing step was used at the appointment, label that separately from your home routine.
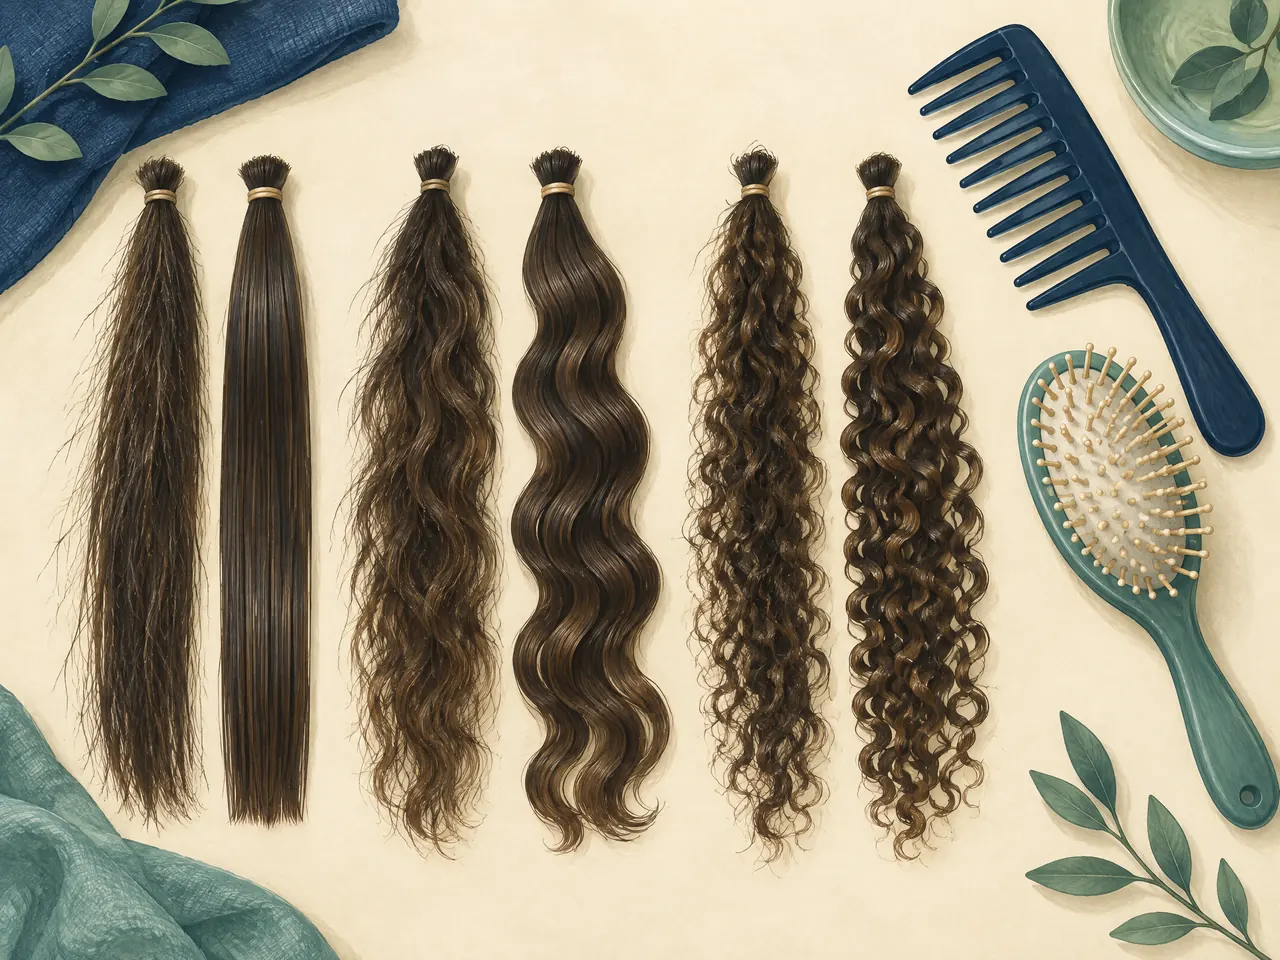
For handling, record where the comb meets resistance and whether the issue appears before washing, while conditioning or after drying. The separate straight, wavy and curly practice tresses illustrate why a texture label alone is not a complete routine. Keep AAD's advice about wet, conditioned sectional detangling and avoiding dry brushing within its stated curly-or-coily scope. [2] Do not adopt the accompanying product intensity merely because some of your hair bends; describe your own tangles and follow your product's directions.
When comparing the dry photographs, describe a change and its location: the left ear-side section looks narrower, the bottom edge has larger gaps, or the front needs arranging after an ear tuck. Include whether your normal tie still holds the necessary pieces. A clearer record helps you decide what to discuss next without treating every irregular bend as a reason for more cutting or another styling product.