Give the front a brief that separates length from clearance
Before an appointment, write one preference you want to keep and one behaviour you want to change. For example: keep enough length beside the cheeks to tuck away, but reduce the strands that fall across the right lens. This gives a stylist a clearer starting point than asking for a shorter fringe everywhere. Show where the unwanted contact happens with your ordinary glasses on, and identify the pieces you do not want shortened.
Bring your own relaxed front view alongside a reference image. Describe what attracts you to the reference: the opening above the forehead, the low position of the ends or the outward turn near the temples. Ask which of those features would depend on cutting and which would need daily styling. If you cannot comfortably tuck the present front, discuss preserving length while it grows rather than assuming a shorter frame will solve the same problem.
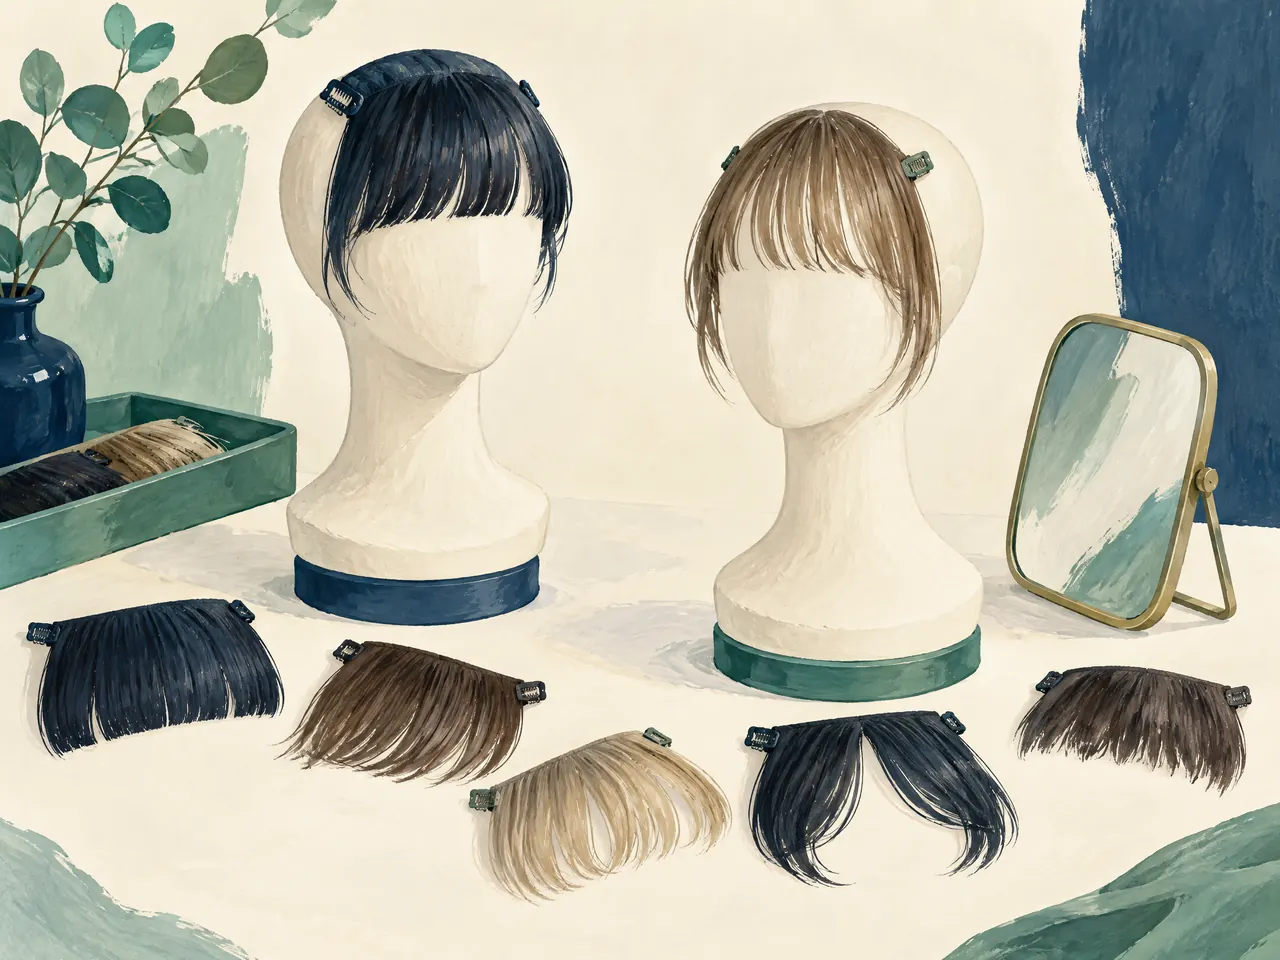
Find which part of the front needs help before adding tools
Divide your observation into the opening, the left front and the right front. Keep the same small areas in mind when comparing your usual finish with a gently directed one. If only the right tip returns towards your eye, note that local behaviour instead of treating the whole front as a failed style. A simple sketch can show where the opening stays clear and where a length crosses it; you do not need tight clips or a perfectly measured section map to make useful notes.
When discussing a dryer or brush routine, ask for a demonstration of the particular movement you want to reproduce. Then describe which tools you already own and how much arranging you are willing to do. Owning an attachment is not evidence that it will create the reference shape. Keep any trial gentle: AAD recommends the lowest heat setting and avoiding pulling or tugging. [1] If a finish depends on repeatedly forcing the same piece into place, include that effort in your decision rather than judging the first photograph alone.
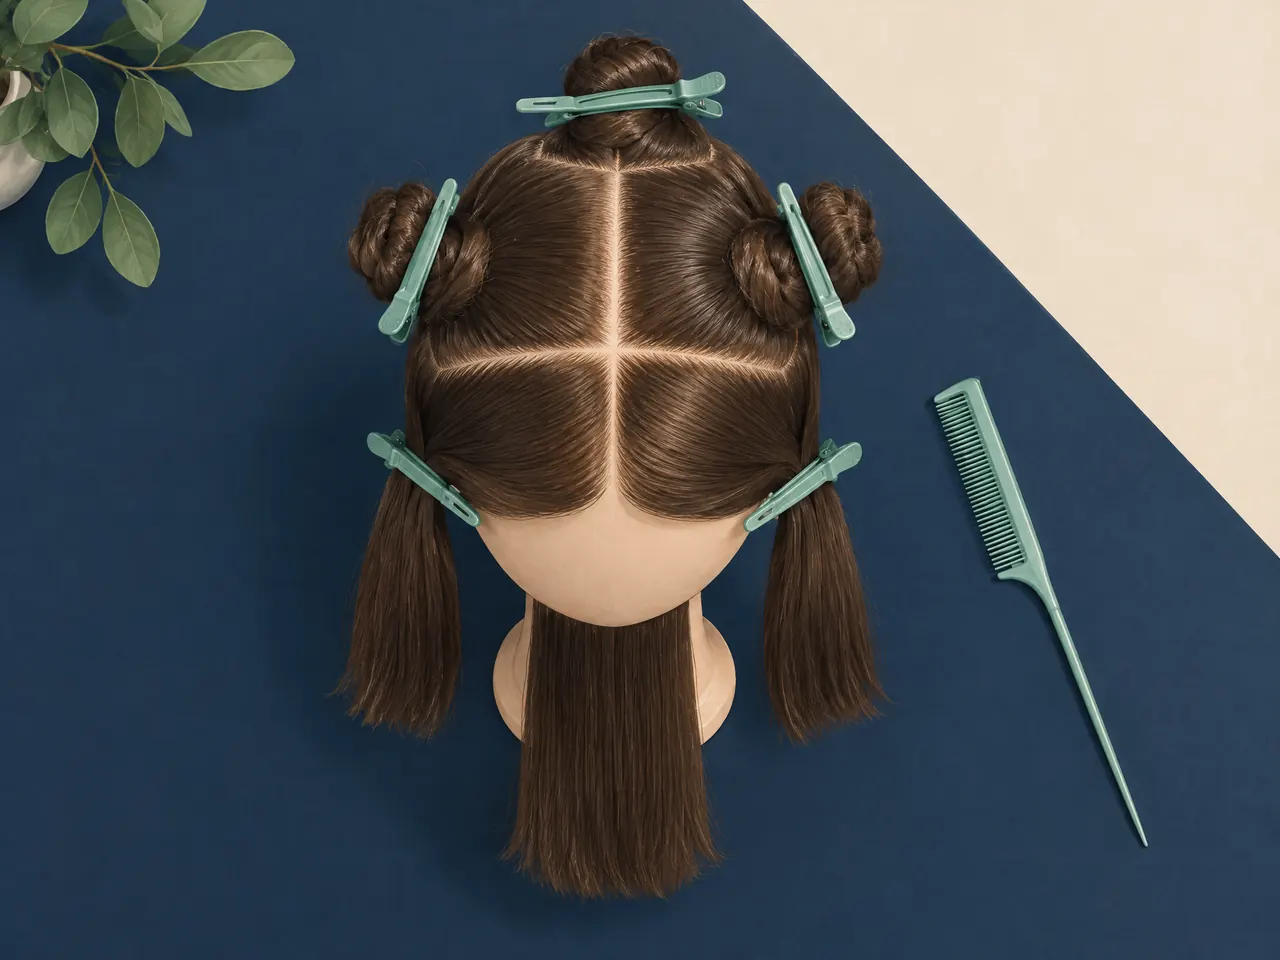
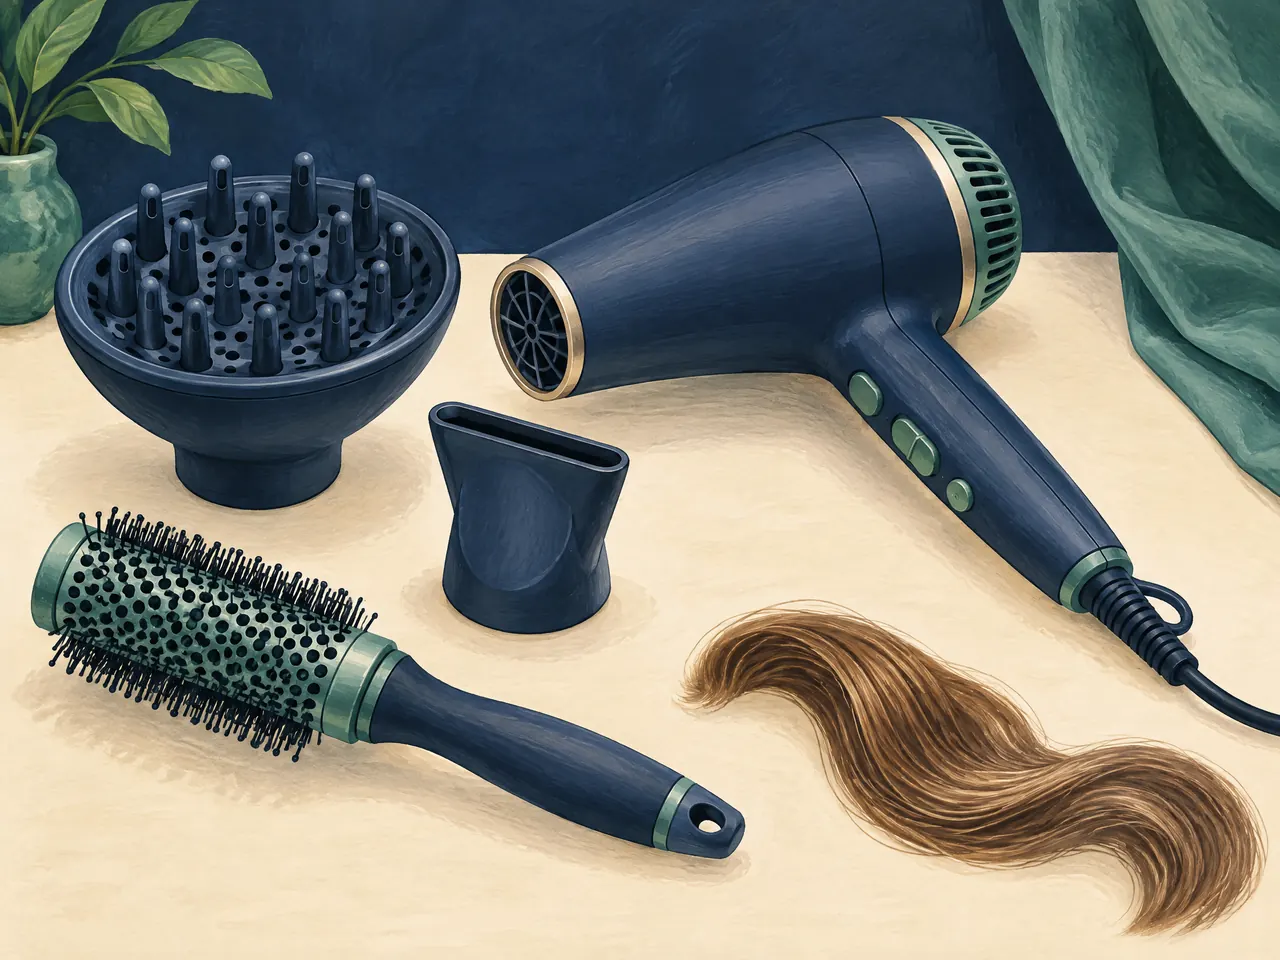
Record the change between damp placement and dry fall
A damp front held neatly to either side can conceal the part of the routine you actually find difficult. Make your main observation after it is fully dry, but add a short note about what changed during drying. Did the opening close, did one side rise, or did the ends travel lower beside the frame? This lets you explain the transition rather than presenting only the finished shape. Keep the wash and drying routine recognisable so your notes describe a morning you could repeat.
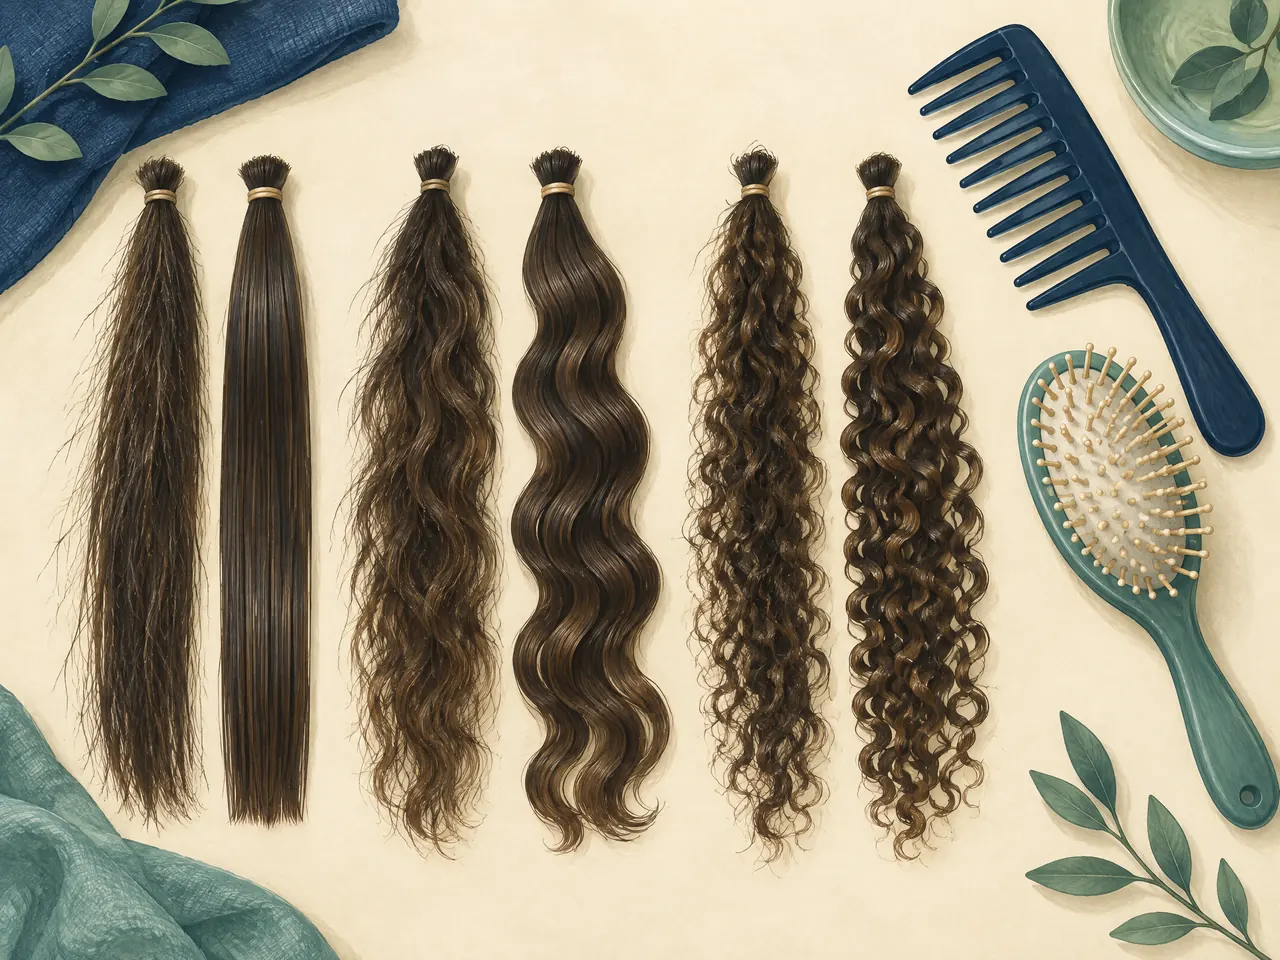
Use the handling appropriate to your texture, not a single wet-brushing rule copied from a reference. AAD distinguishes gently combing straight hair after it has dried a little from wide-tooth combing textured hair or tight curls while damp. It also advises absorbing water with a towel rather than rubbing. [1] These are care precautions, not instructions for manufacturing a matching curve. Bring both your texture notes and the dry result into the discussion; a styled bend does not establish how a chemically treated front would behave.