

Prince Edward & Kwun Tong clinics · Home-visit enquiries elsewhere

TCM Lab

TCM Lab · Beauty & lifestyle / Women’s haircut transitions

Growing out a pixie without losing a clear shape

Content updated

The difficult stage is often not a lack of length but several lengths competing for attention. Build a wearable transition by protecting useful sections, softening selected edges and accepting some temporary unevenness.

Illustrative short-hair silhouette
Illustrative hair-lifestyle concept; not a client record or a Vit So portfolio photograph.

The short answer

For a pixie grow-out, preserve the top and side lengths needed for your next outline, then judge the nape and fringe separately. A local edge trim can make the present stage easier to wear; recutting every layer to restore the original crop can remove progress. Use comfortable clips and simple styling while reviewing visible milestones, not a promised completion date.

Vit So is an external hair and beauty website under the same ownership as TCM Lab. Its beauty services are separate from Chinese medicine care. This section is for beauty and lifestyle education, not diagnosis or treatment.

Map the lengths that will build your next outline

Start with your hair dry and resting as you normally wear it. Look from the front, both sides and behind before tucking anything away. Identify the shortest crown pieces, the sections beside the ears and the bottom edge at the neck. An old crop can look uneven as these existing lengths become more noticeable; that does not mean every area needs correcting at once.

Choose one practical next shape rather than an entire album of long-haired references. Perhaps you want sides that cover the ears and a rounded back, or a front section that stays tucked without help. Write down which existing pieces must become longer to achieve that feature. Those are your protected areas, even if they look less polished today. The longest nape ends may not be the pieces limiting your next shape.

If you are comparing short starting shapes, Vit So's pixie cut resource provides a place to explore cropped and fuller outlines [4]. Use it as a design reference, not a growth timetable. Vit So is an external hair-beauty website under the same ownership as TCM Lab; its salon services are not Chinese medicine care.

Balance the nape, ear area and fringe separately

The back can begin to look tail-like while the sides still sit above the ears. Compare two options: leave the nape alone and wear a deliberately longer back, or shorten only its projecting bottom edge to make the profile less elongated. The second choice sacrifices some back length for present-day balance. Neither requires shortening the crown. Keep the distinction between tidying the hairline and cutting the layered section above it clear.

Around the ears, an in-between length may stick out because it meets the ear rather than falling past it. Try leaving it untucked, then placing it behind the ear without pulling. If only a few strands escape, a small clip may be enough. Cutting those strands back to expose the ear neatly is a different decision: it recreates the short side you are trying to leave behind. You can accept a soft, untidy ear edge while keeping the nape more controlled.

For the fringe, test reading, looking down and wearing your usual glasses. A front piece that interrupts those tasks needs a usable solution, but that solution need not be a new short fringe. Try a side sweep or a loosely secured front section. If you decide to cut, distinguish the strands obstructing your eyes from longer front pieces you want to retain. Check the result in its normal dry bend rather than only pulled straight.

Distinguish an edge trim from restarting the crop

A useful hair trim request identifies the exact area to change [3]. For example: remove the narrow ends projecting below the back outline, but leave the crown and sides unshortened. That is more precise than asking for a tidy-up, which could mean restoring the entire old shape. Before cutting begins, ask which sections will be touched and where their finished ends will sit.

Two tempting requests deserve extra thought. Shortening all layers to make them look equally fresh may remove the length that is gradually connecting the top to the sides. Removing weight everywhere may make the present crop feel lighter, but can also leave more short pieces above the fuller edge you want next. Neither approach is automatically wrong; it simply serves a different priority from preserving a more continuous outline.

When arranging a women's haircut, describe the transition rather than requesting your previous cut again [3]. A useful brief is: I am keeping the side length to cover my ears; the back edge is the only area I want reconsidered today. If a broader reshape is proposed, ask what visual improvement it offers and which protected lengths it removes. Keeping length and looking freshly cropped are not always compatible goals.

Use temporary styling without forcing every strand

Give each awkward area one simple option. A shifted parting can move a fringe away from the eyes; a small flat clip can hold an ear-side section; leaving one side untucked can make a longer front look intentional. Test the arrangement while moving your head, not just facing a mirror. Release and reposition anything that pinches, pulls or needs tension to stay put. The AAD recommends loosely pulled-back hair and avoiding tugging during styling [2].

Start with a small amount of finishing product and follow its label for damp or dry application. Place it only where you want separation or control, then assess before adding more. A heavily fixed fringe may look neat at first but be less easy to move later. Product is a temporary finish, not a way to join unequal lengths permanently. If the style takes repeated fixing, try a softer arrangement before assuming the cut needs shortening.

Keep the routine gentle. The AAD advises absorbing moisture with a towel or T-shirt rather than rubbing, and limiting heat tools with low or medium settings and heat protection [1]. It also distinguishes detangling routines for straight and curly hair. Do not repeatedly brush a wet fringe into submission or turn up the heat to force the ear area flat. These care habits support sensible handling; they do not promise a quicker transition.

Review useful milestones instead of a fixed finish date

Take occasional front, side and back photographs with the same parting and a similar head position. Keep a plain, unstyled view alongside any favourite finished look. A tilted head or a tucked side can disguise the very edge you are tracking. Compare one feature at a time: whether a side now rests over the ear, whether the front stays clipped comfortably, or whether the crown overlaps more of the back.

Use a change in function as your review trigger. A clip becoming unnecessary is progress even if the hair is not yet bob-like. A nape that repeatedly catches on your usual collar may justify a local adjustment even when the sides are still growing. Keep a short note of what bothers you and try a reversible styling change first. This separates an inconvenient edge from a general feeling that the whole haircut is unfinished.

When the top and sides begin contributing to the same outline, reassess how much difference remains between them and the back. You might keep growing, retain a layered intermediate shape, or shorten the longest ends to create a more unified perimeter sooner. That last choice trades total length for cohesion; it is not necessarily a failed grow-out. Judge success by a shape you can wear comfortably, rather than another person's calendar.

Take it into everyday life

A practical checklist

  • Photograph your ordinary dry hair from the front, sides and back before tucking or smoothing it.
  • Name the next usable feature: ear coverage, a comfortable front sweep or a fuller shared outline.
  • Mark the crown, side or front sections you do not want shortened at this stage.
  • Test a clip or parting change before cutting an inconvenient section.
  • For any trim, agree on the specific edge to change and what remains untouched.
  • Record one functional milestone and review when your everyday styling stops working comfortably.

Questions & answers

Should I keep trimming the nape while the sides grow?

Only if the back outline bothers you enough to trade away some of its length. A local nape adjustment can balance the profile, but repeatedly restoring a very close back is optional, not a requirement for growing out a pixie.

What if the ear-side pieces are too short to tuck?

Let them rest naturally or try a comfortable small clip. Do not pull them tightly into position. Cutting them to expose the ear again may look cleaner immediately, but removes length needed for future coverage.

Can I shorten the fringe without resetting the whole grow-out?

Yes, if you deliberately want a shorter fringe in your next shape. If your goal is a longer front sweep, first try changing the parting or loosely clipping it. Agree on which front strands may be cut.

Do all the layers have to become equal before I can change shape?

No. A fuller outline can still contain shorter layers. Look at whether the sides and back form an edge you like, then decide whether to preserve internal movement or accept a length reduction for a more continuous perimeter.

How can I tell whether a trim helped?

Compare the same dry views and repeat the task that bothered you, such as wearing a collar or keeping hair away from your glasses. A successful local trim addresses that problem while leaving your agreed protected sections intact.

Sources & further context

Numbered references follow the order in which the sources are listed below. Service websites provide beauty-service context, not medical evidence.

  1. [1] American Academy of Dermatology — Tips for healthy hair
  2. [2] American Academy of Dermatology — 10 hair care habits that can damage your hair
  3. [3] Vit So — Women's Haircut
  4. [4] Vit So — Pixie Cut or Bixie Cut: What Length Should Stay?

Make the trim boundary visible before cutting

For your next pixie grow-out discussion, demonstrate the boundary on your own hair rather than relying on a picture of the finished goal. Ask to see the proposed nape section separated from the hair above it before agreeing to the cut. Point out whether a projecting end belongs to the bottom edge or to a longer section falling over it. This makes a request to tidy the back easier to check without treating all hair in that area as expendable.

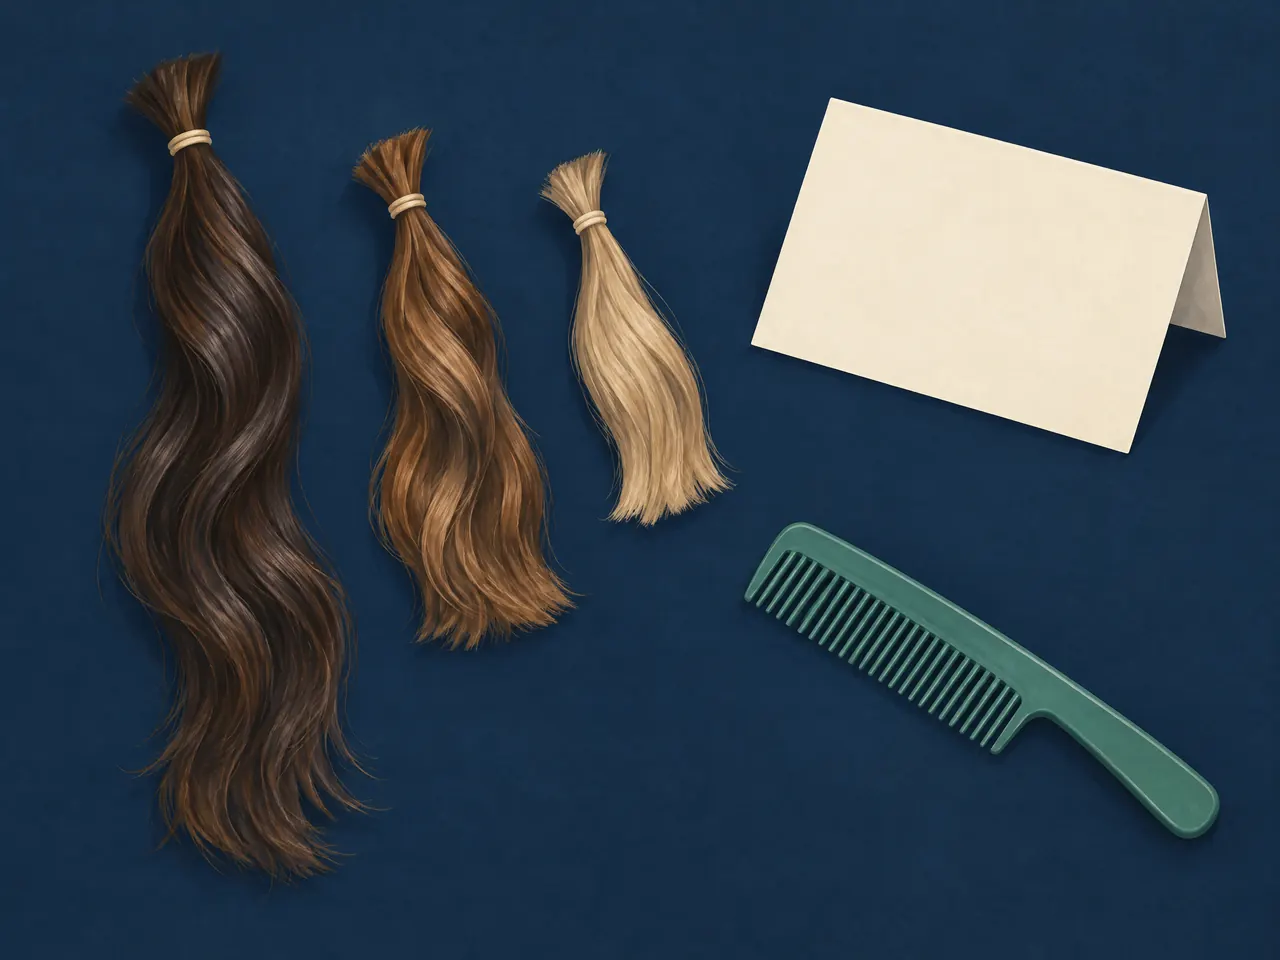
Show a minimum acceptable dry end position for each area being discussed. Your side, crown and nape do not need the same limit. A reference with the side tucked away cannot show how much loose side length you want retained, so pair it with a view of your own untucked hair. Vit So's existing women's haircut resource distinguishes the outer perimeter from internal layers and recommends demonstrating the usual dry fall [3]. Use that distinction to agree on the proposed work, not to assume that a photograph establishes its scope.
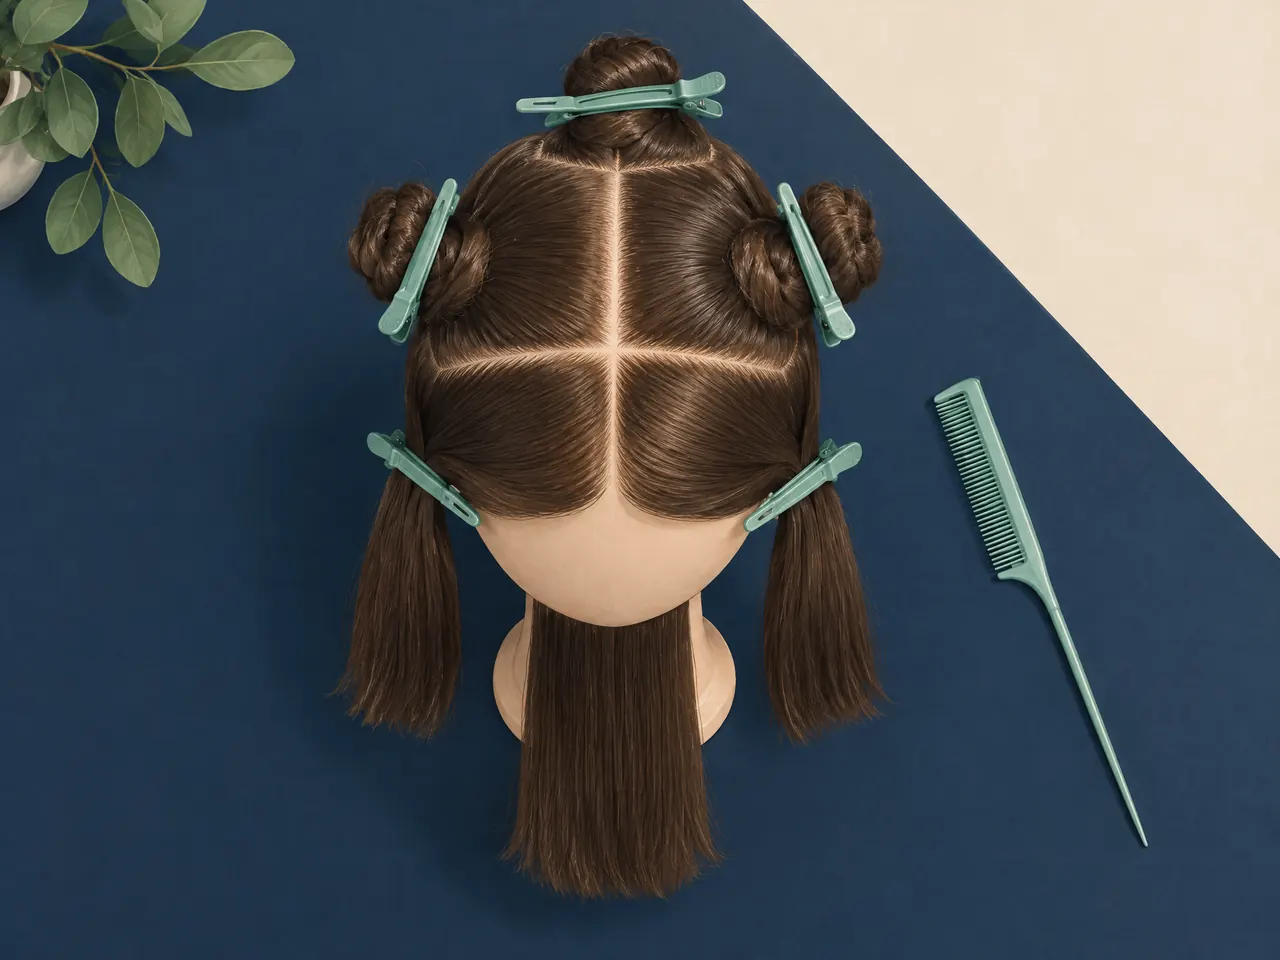
Overhead view of a faceless practice mannequin with hair divided into sections by jade clips and a tail comb beside it
Separated practice sections illustrate how to discuss an edge independently from the longer hair above it; not a client haircut.Generated illustrative image
Three separate practice hair tresses of different lengths beside a blank folded consultation card and comb
Different practice lengths illustrate separate retained-length limits; they are not stages on a growth timetable.Generated illustrative image

Decide whether the next shape includes a fringe

Compare two front designs while keeping the rest of your goal unchanged: a distinct shorter fringe, or a longer front that eventually sweeps into the side. You may prefer the first even while growing the crown and sides. In that case, identify the fringe as a deliberately maintained feature rather than asking for every front piece to be made equally short. For the second design, show where the longer front should meet the side instead of borrowing a reference whose fringe hides that connection.

Describe how you want to wear the front on a day without elaborate styling. Try your usual parting and glasses, then explain whether you are willing to reposition a clip or redirect the fringe after washing. A detachable fringe study can help separate those design choices visually, but it cannot establish how your own hair will fall. Bring the discussion back to the bend and direction visible in your ordinary dry front pieces.
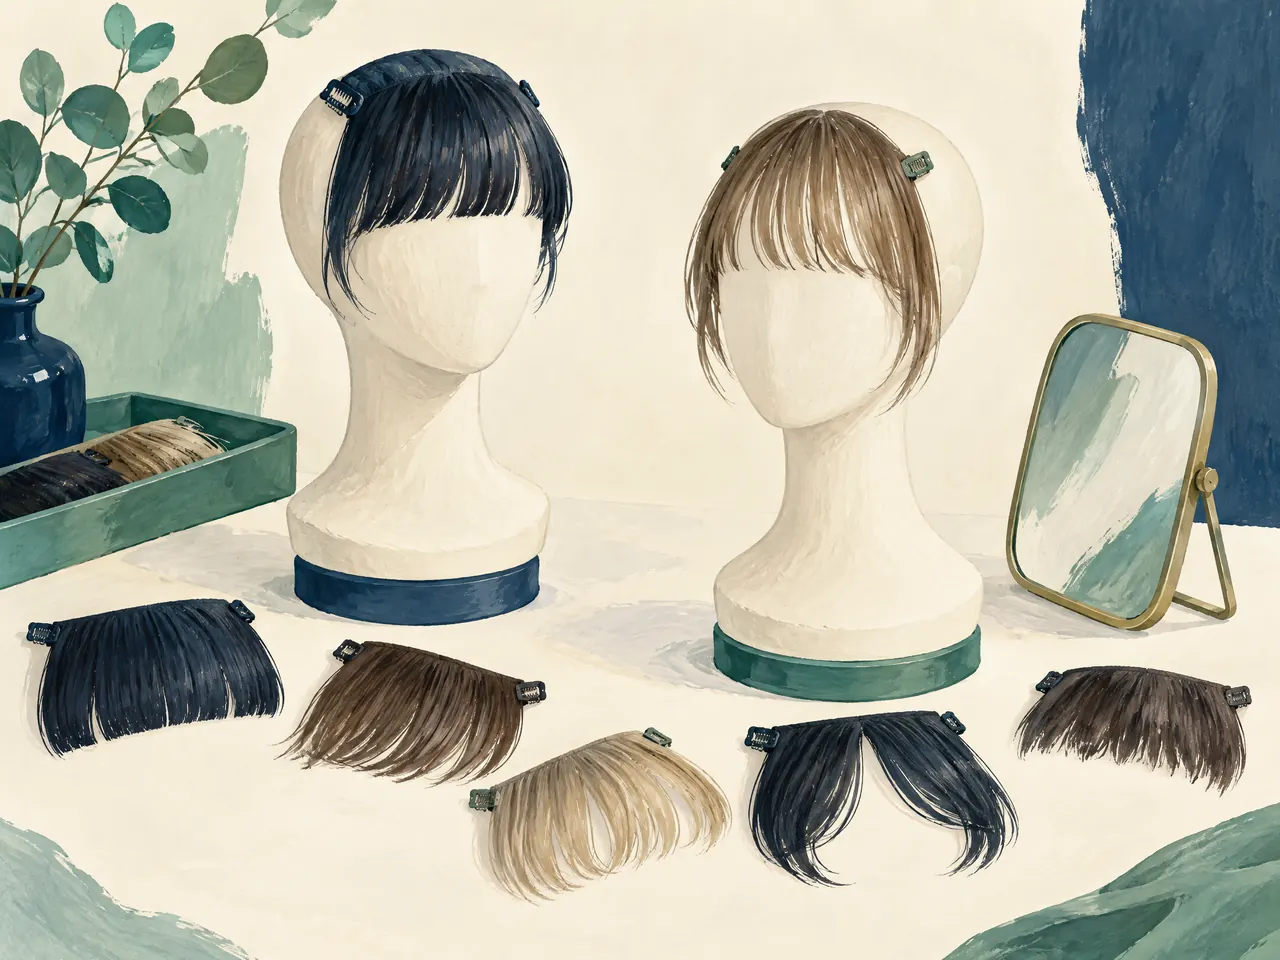
Two featureless mannequin forms with detachable practice fringe pieces and a small mirror arranged for a design comparison
Practice fringe pieces support a choice between a separate fringe and a longer front; not a prediction of your finished cut.Generated illustrative image

Rehearse the finish you can repeat at home

When discussing an awkward ear-side section, explain the tools you actually use. A finish made with a brush and directed airflow involves different steps from letting the hair dry naturally. Ask which step creates the side's direction and whether a simpler version can be demonstrated. If you do not own or want to use the demonstrated attachment, say so before deciding that the polished finish represents an easy everyday option.

Try the simpler routine through an ordinary wash before deciding whether the edge itself needs changing. Note whether the problem is the resting length or the effort needed to recreate the finish. Do not compensate for a difficult shape by repeatedly increasing the heat; the AAD advises limiting heat styling, using low or medium settings and heat protection [1]. The tools illustration helps frame that conversation, not prescribe an attachment for every texture.
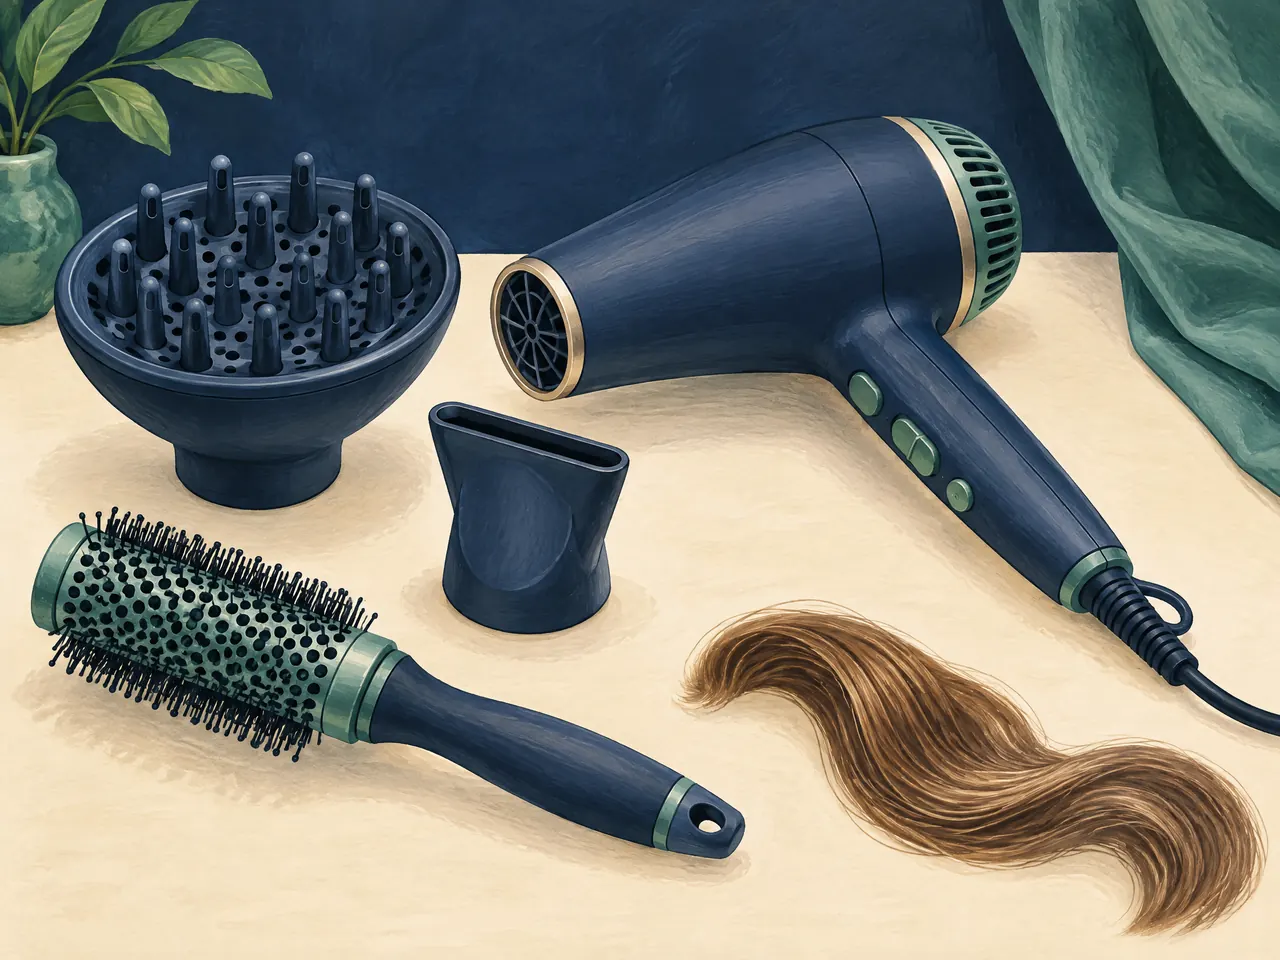
An unplugged unbranded hair dryer with separate diffuser and nozzle beside a round brush and loose practice hair tress
Separate tools illustrate the styling steps to clarify before choosing a finish you will repeat at home.Generated illustrative image

Read the outline after your ordinary wash routine

Keep one comparison view after washing and drying in your usual way, without forcing the sides into the reference photograph's position. Say which pieces curve towards the ear and which turn away from it. If a waved section is stretched for a length discussion, also show its relaxed dry position. This gives the conversation a usable baseline: the hair you wear, rather than the longest position you can pull it into.

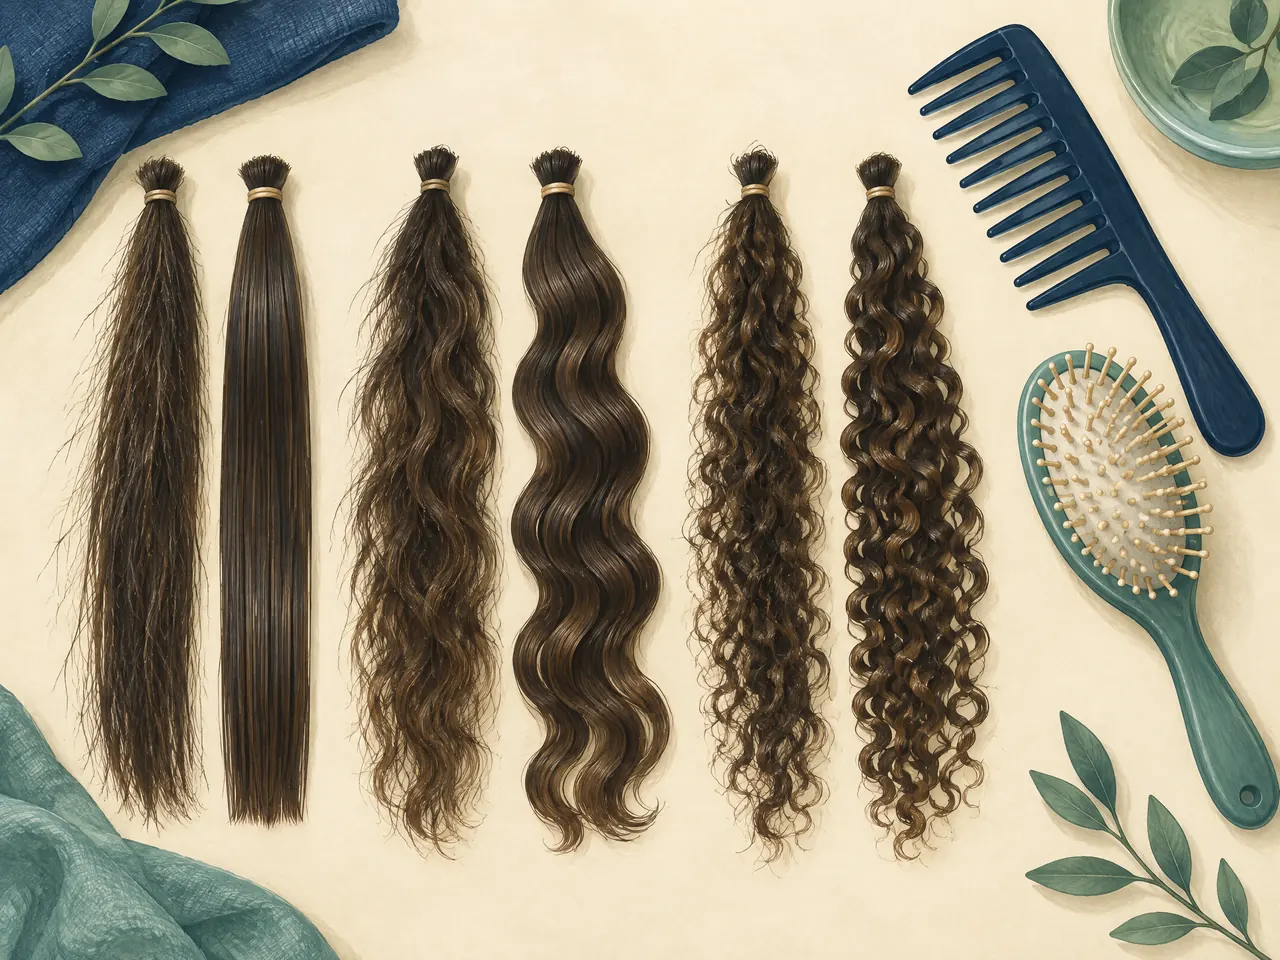
Keep detangling appropriate to that baseline. The AAD recommends letting straight hair dry a little before combing, while thick curly hair can be combed in the shower before conditioner is rinsed out. It advises working gently from the ends upwards with a wide-tooth comb [1]. Separate practice tresses illustrate why one handling routine need not fit every texture. A gentler wash-day comparison helps you describe the outline without treating a temporary stretch or brushed-flat finish as retained length.
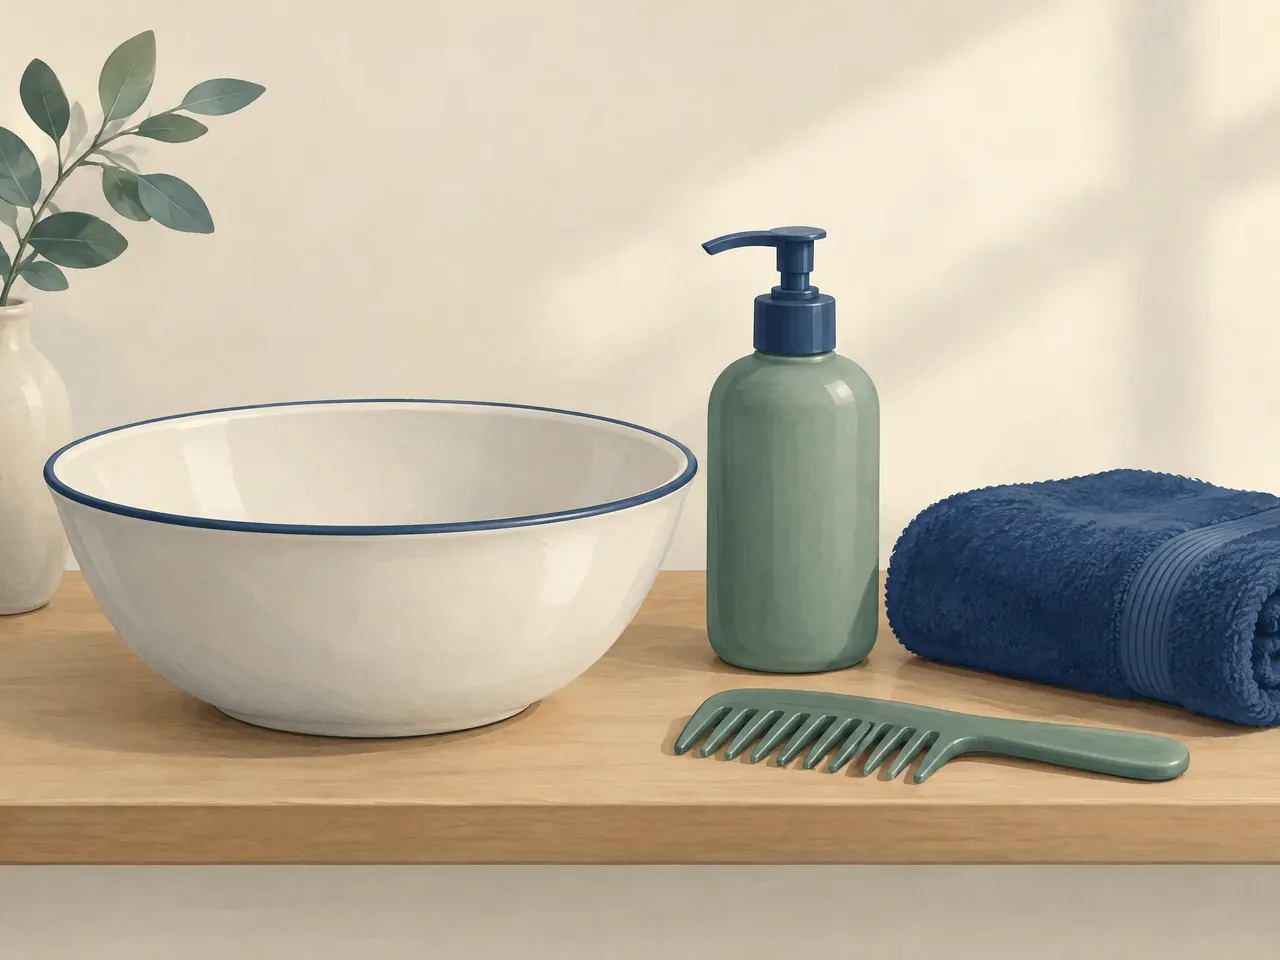
A plain wash basin with an unbranded pump bottle, soft folded towel and wide-tooth comb on a cream shelf
Routine-care objects illustrate the ordinary wash-day baseline to describe when discussing the growing outline.Generated illustrative image
Separate straight, wavy and curly practice hair tresses beside a wide-tooth comb and soft brush
Separate practice textures illustrate why dry fall and detangling preferences should be discussed individually.Generated illustrative image

Clinic enquiries

Contact and appointment arrangements

Clinics
Prince Edward and Kwun Tong
Opening hours
11:00–21:00
WhatsApp and telephone
+852 6940 5663

Appointments, practitioner availability and service arrangements are confirmed via WhatsApp.

Please mention any consultation language needs in your WhatsApp enquiry so that arrangements can be confirmed.

Enquire via WhatsApp
Food, gifts and floral lifeWhatsApp enquiry